


What Size Should a Custom Patch Be?

Lea Alber
The proper size of a patch will vary with some variables, like where the patch is going, how complicated the design is, and the requirement for it to be visible at all.
In other words, a 2-inch patch may be perfect for the front of a hat, but a patch that is 10 inches is not a proper size to place on the brim of a hat unless it is on the back of a jacket. If you stay aware of a handful of guidelines, you should be able to find a size that works for the purpose you're intending and then the level of impact that you will want.
I. Which factors influence the most suitable size for custom patches?
To choose the ideal size of the patch, you can mainly consider the following 5 aspects.
1. Purpose of the patch
● Branding and promotional patches: Patches meant to publicize a company, event, or organization need to take on a visceral presence. Medium to large patch sizes (3–6 inches) are generally picked to ensure the logo and text are recognizable from a distance.
● Uniform and team identification: Patches on workwear, sports teams, or school uniforms need visibility while still not being so large that they are uncomfortable. Sizes of 3–4 inches are common and ideal if placed on the chest or shoulder.
● Fashion and personalization: Patches used to embellish clothing, bags, or hats are focused on creativity and style. Smaller patches, 1–3 inches, have a suggested effect.

● Collection and Souvenir Patches: Patches for collecting, trading, or souvenir purposes are usually smaller, 2–3 inches, which should be smaller for ease of carry.
● Large Display Patches: Patches greater than 8" to 12" are typically seen on the back of motorcycle jackets, on costumes for the stage, or just to use and create a display of some sort.
So before locking in on the dimensions of your patch, consider why the patch exists. Is it for what it is, to brand it - team identification, or just for fun, or collecting? This will help better balance the patch between its beauty and its functions.
2. Placement area
The location of your patches determines what size range you can choose from; Different apparel and items have varying available region options. The following are some typical placements and recommended patch sizes:
● Jacket Back
The back area provides a lot of space and is perfect for larger patches (4–10 inches or larger), especially on motorcycle jackets or club uniforms. This area presents a great option for a bold design or logo.

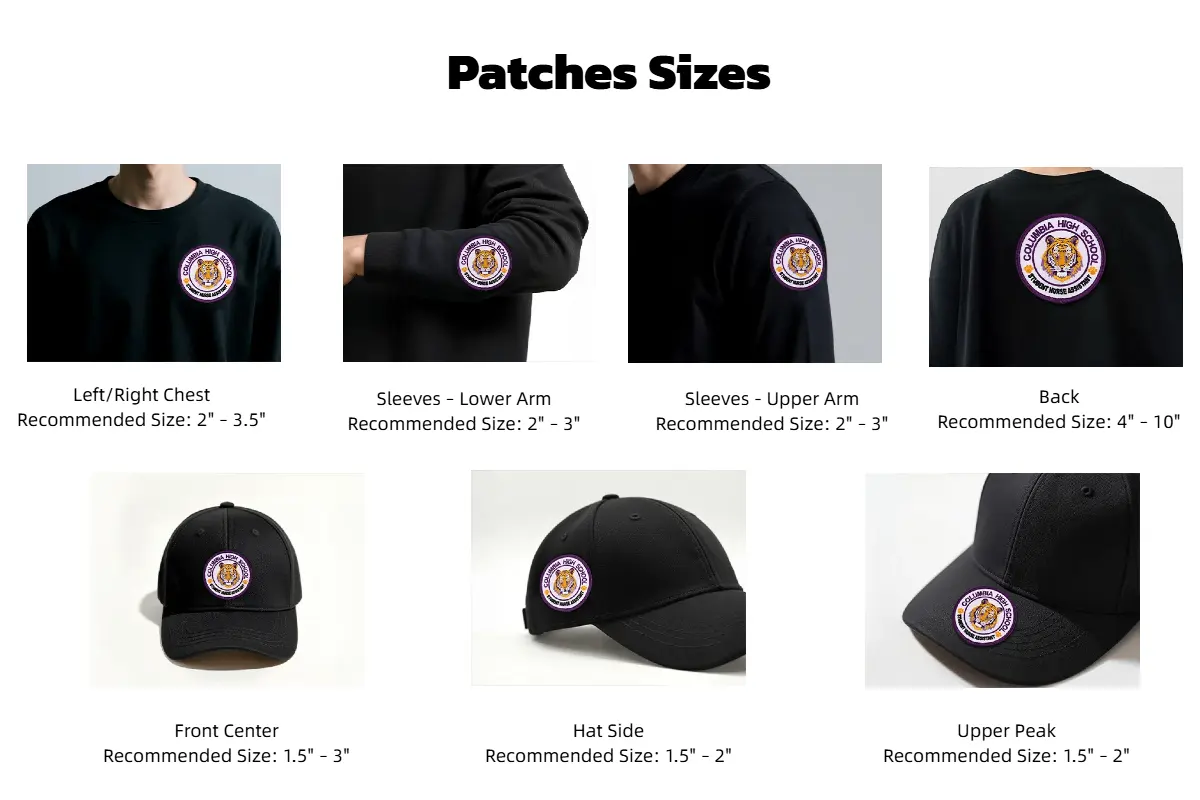
● Chest Area
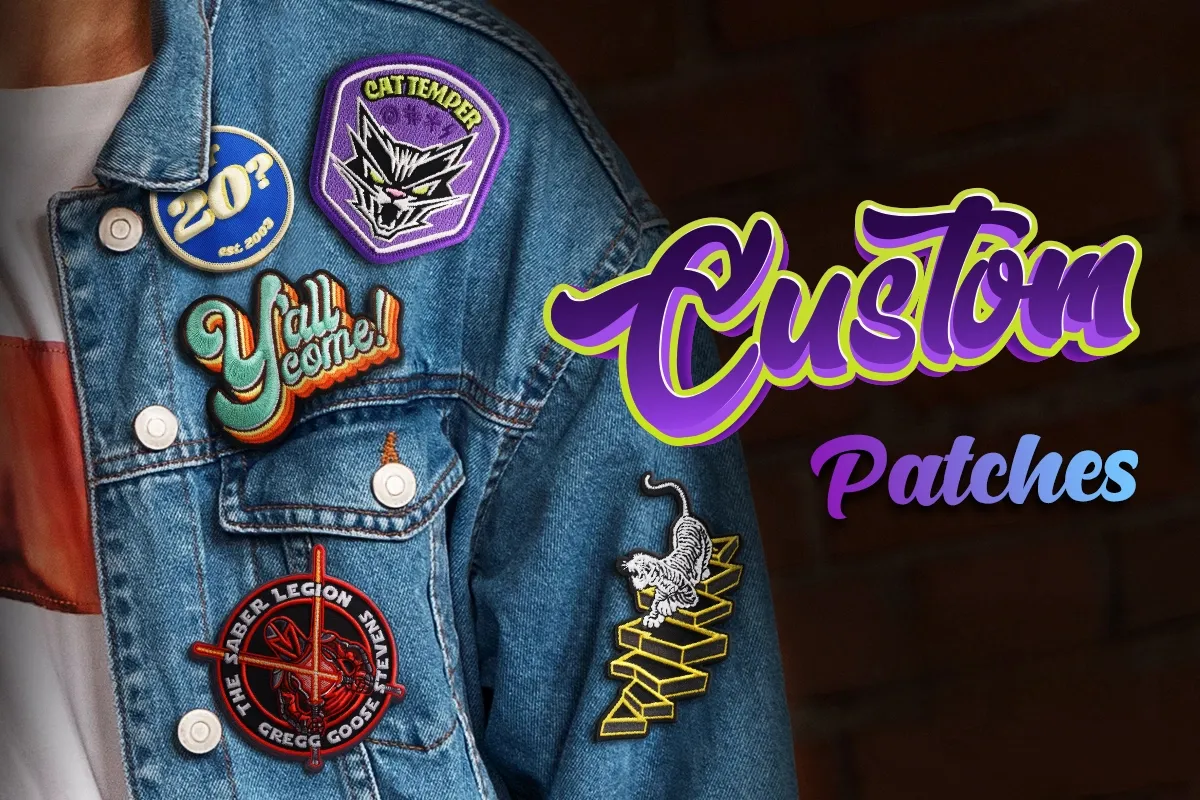
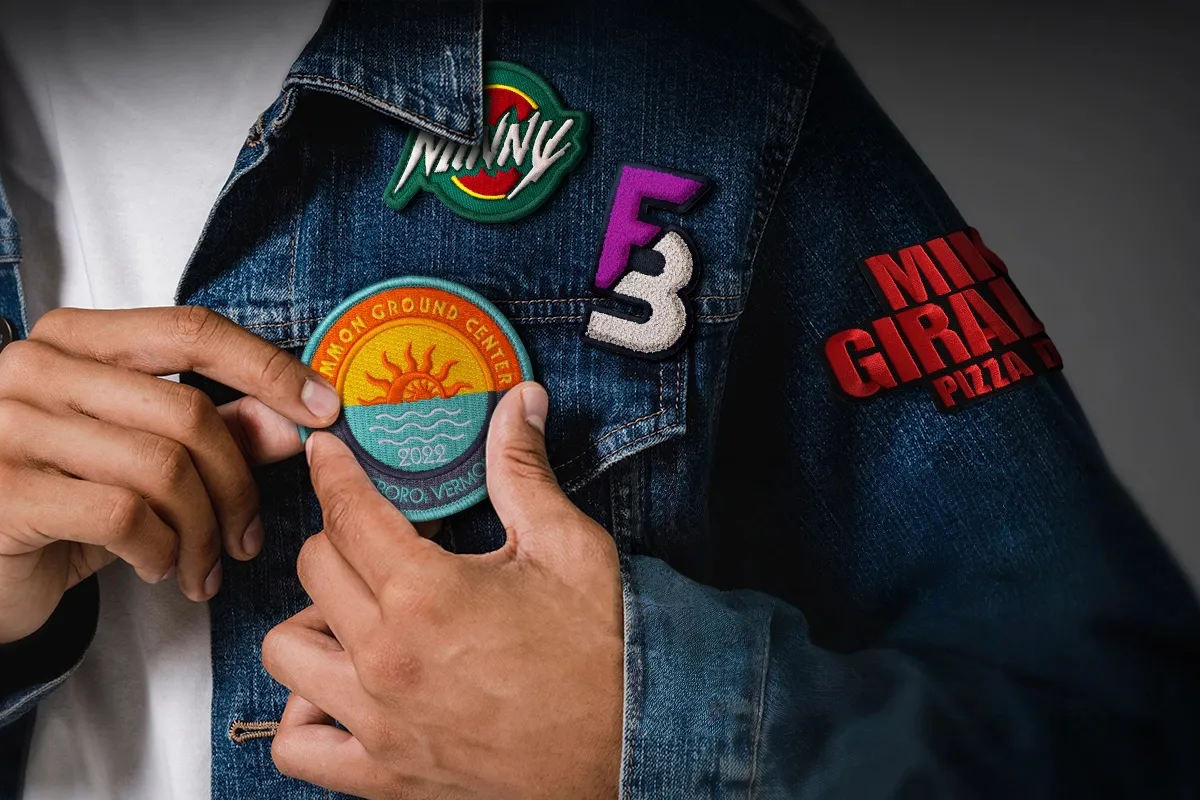
The chest or possibly upper chest area has often been chosen as the area to display corporate or team logos. We recommend a patch around 2–3.5 inches, because typically, some sort of logo is still visible on all the shirts and jackets you are wearing, and therefore not obtrusive, and still provides some degree of comfort.
● Sleeves
In view of the use of sleeves for auxiliary logos, such as flags, numbers, or small images. The most common size choice is 2–3 inches to allow some comfort and so that it does not hinder movement.
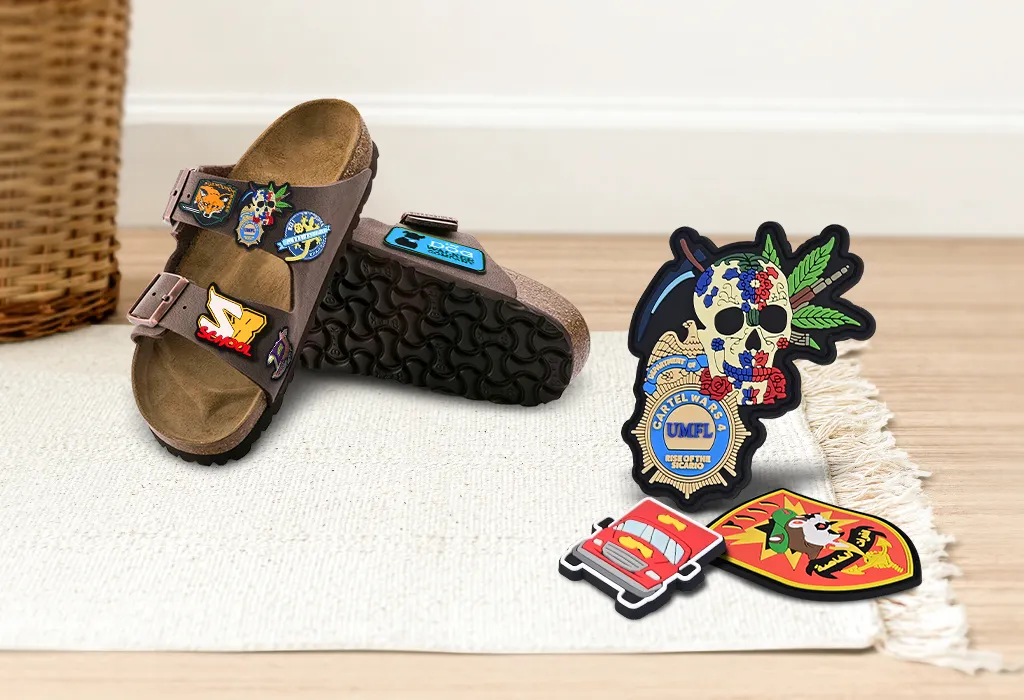
● Shoes
For cloth shoes, the patch size is 2-3 inches (approximately 5-7.5 cm) in diameter, which makes for a suitable and clear display without distortion. For the heel, a patch of 1-1.5 inches (approx. 2.5-4.0 cm) in diameter generally works well for a simple decorative patch.
● Hats
Since hats and caps are smaller, patches approximately 1.5–2 inches wide, and it will look noticeably big, but by not using the entire forehead area.
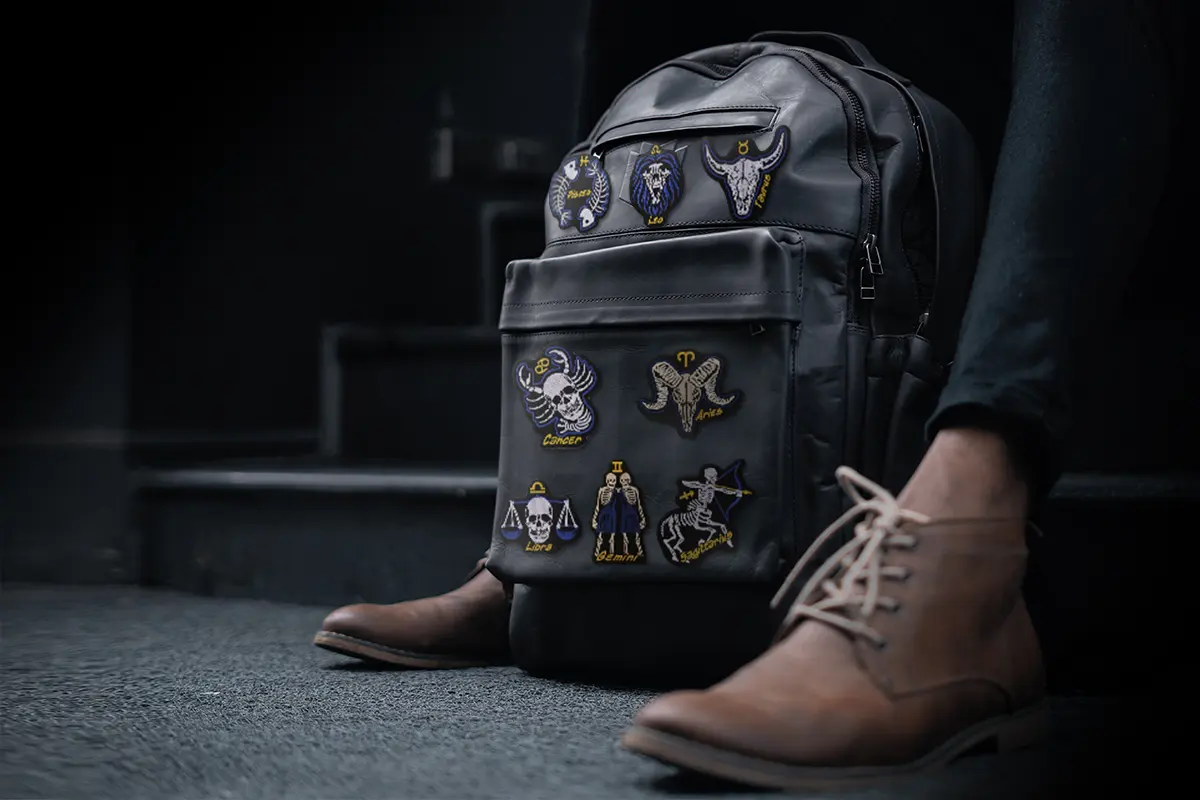
● Backpacks & Bags
Due to the size of the backpack and the available surface area, there are many choices for patch size, and you only need to choose according to the size of the backpack.
3. Design complexity
Whether it's a text piece, patterns, or color combinations, the patch needs to be sized properly to see the detail clearly.
● Fine detailed designs
If the patch includes fine patterns, finer lines, or many different colors, use a larger-sized patch (4 inches or larger), which results in greater detail.
● Text patches
The more text on the patch, the larger the patch must be. A patch should be at least 3 inches for short, single-line text to be read clearly when it is embroidered. For longer sentences or multi-line text, larger sizes should be used.
● Minimal design
If the design is simplified, geometric shapes, dots, or monochromatic symbols, choose a smaller size patch.
● Logos
Company or team logos need to be recognizable. If your logo is complicated (multiple colors, large embellishments), I recommend using your logo at a medium to large size (3- 5 inches) to reduce the chance of it not being recognizable. However, a simple and clear logo can certainly be conveyed in a smaller size.
4. Shape of the patch
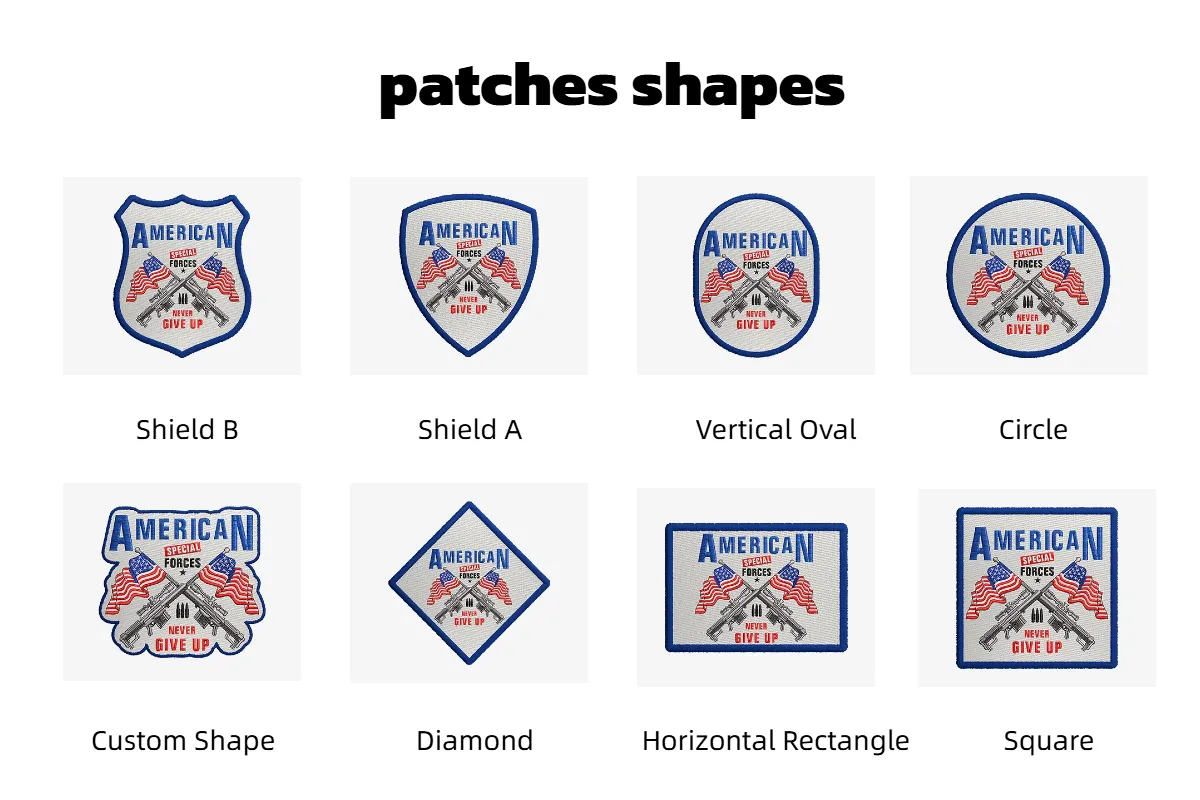
The shape of the patch also plays a role in the ideal size.
● Circular patches are visually compact and center-focused, so they are best suited for small to medium sizes (2-4 inches).
● Square patches allow for more text, and are suited to a medium size of 3-5 inches, and are often used for shoulder badges or name tags.
● Oval patches appear softer and are suited to chest patches or backpacks, typically in the common sizes of 3-4 inches.
● Irregularly shaped patches tend to require a larger size to accommodate the complete design. For example, patches made with cartoon characters, animals, or intricate logos are usually sized up to 4-6 inches or larger.
5. Wearer's preference
Along with use and design, personal preference can also affect the size of a patch.
Some people prefer big patches to show their individuality or some kind of status, or to get noticed from afar. The bigger patch can show strength and assertiveness, all while being unique. Minimalists love their patches smaller, usually 1-2 inches.
Often, the size is important for sports teams, companies, and schools. It is of consistent size. For example, if the chest patch overall is to be 3-4 inches then the armbands should usually be 2-3 inches.
II. What are the recommended sizes for different types of patches?
1. By placement
| placement | Recommended size | Remark |
| Hats | 1.5 – 2 inches | Not too large to affect the appearance |
| Sleeves | 2 – 3 inches | Suitable for flags, numbers, or small patterns |
| Chest Area | 2 – 3.5 inches | The most common company logo size is clearly visible. |
| Bags | 4 – 6 inches | Can be matched with multiple small patches |
| Jacket Back | 4 – 10+ inches | Suitable for large graphics or club logos |
| Collectibles | 2 – 3 inches | Easy to collect, exchange, and preserve |
2. By organization
The best patch size varies based on its purpose.
Sports teams and clubs typically keep the size of chest crests to 3–4 inches to keep a consistent look across the team; Ideally, sleeve flags, numbers, or secondary logos will only be 2–3 inches.
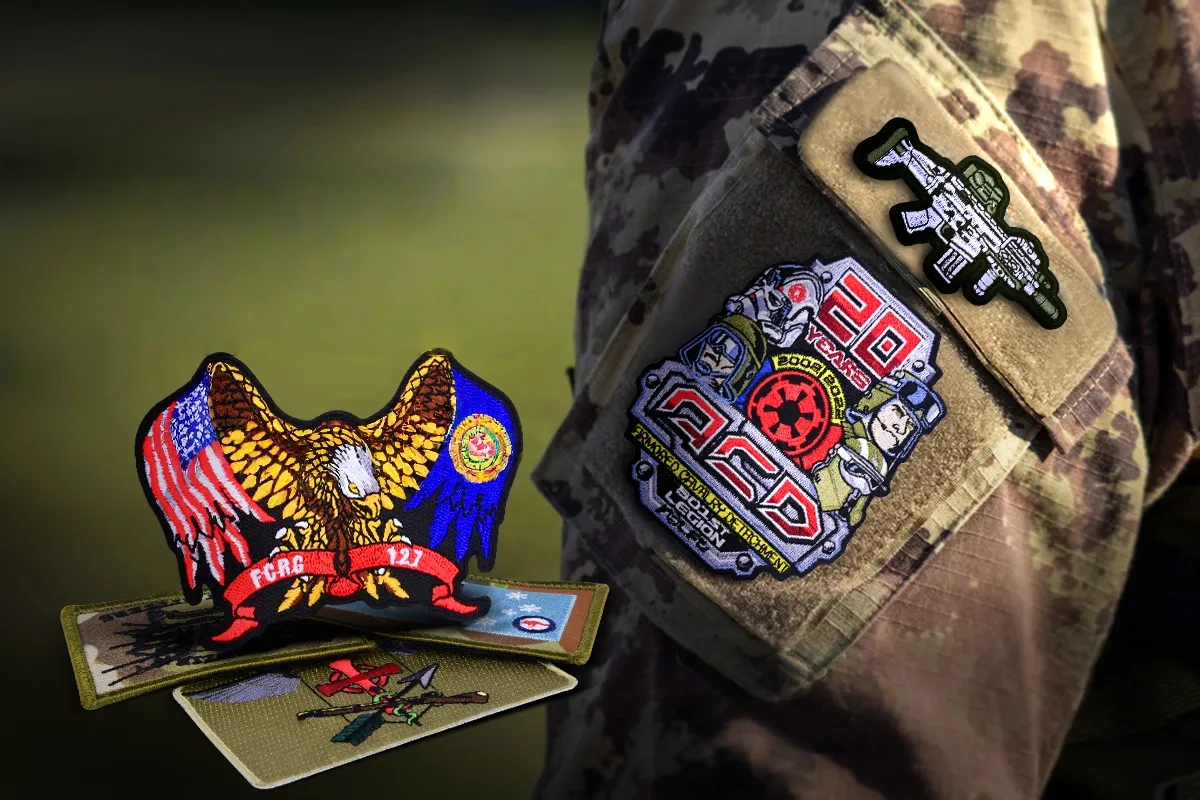
The military, police, and security organizations have a relatively fixed size style for patches as well. Both shoulder or arm patches have the same size style, typically 3–4 inches long, and feature insignia or departmental information. Name and rank patches or shoulder patches are a narrower style, typically 1–1.5 inches high and 3-5 inches wide. Special forces and commemoration patches have a larger style of 5–8 inches long to recognize status and honor.
III. Tips for choosing the right size
1. Balance with clothing.
Consider the proportion of the patch to the rest of the item. A 12" patch might look great as a back patch for a jacket, but would be obnoxiously thick and out of proportion for the chest of a T-shirt. A 2" patch will look good on a sleeve or on a hat, but 2" would look too skinny across the back of a jacket. You should always consider the patch in proportion to the area of application for best results and aesthetic appearance.
2. Design complexity
Also, keep in mind the details in your design. If your design is pretty detailed or text-heavy, you're probably going to want a larger patch to ensure the elements are still legible, whereas simple geometric shapes or symbols can reasonably be legible at a small size.
3. Testing with paper cutouts
A good tip to eliminate any headaches is to do a test cut on paper. Cut out a paper mock-up of your patch and place it on a garment, just to see how it will look.
4. Considering visibility
Patches transmit information or decorate. When patches are so small that they are no longer visible from a distance, the information will not be transmitted. This is particularly important for team badge patches, corporate logos, and back display patches. When choosing a patch, ensure that it is sufficiently sized to be identifiable from a distance.

9 Easy Ways to Add Embroidered Patches to Clothes
If you want to transform your old clothes or create a custom collection for your products, you won’t be disappointed if you choose custom embroidered patches. Embroidered patches have endless possibilities. They are fashionable and versatile, and can be used to embellish your clothes and give them new life. They can also be used for brand promotion to make your brand stand out and attract more people to know you.
In this guide, we've explored the different backing types and installation methods for embroidered patches to help you better understand this personalized product.

What are Military Patches?
Patches are likely very familiar to you, as they are decorative items that we often use in our daily lives. However, military patches may be less familiar to you. Military patches are primarily used by the military or found among military enthusiasts. Overall, these patches are quite broad and include many different details.