


9 Easy Ways to Add Embroidered Patches to Clothes

Ethan Carter
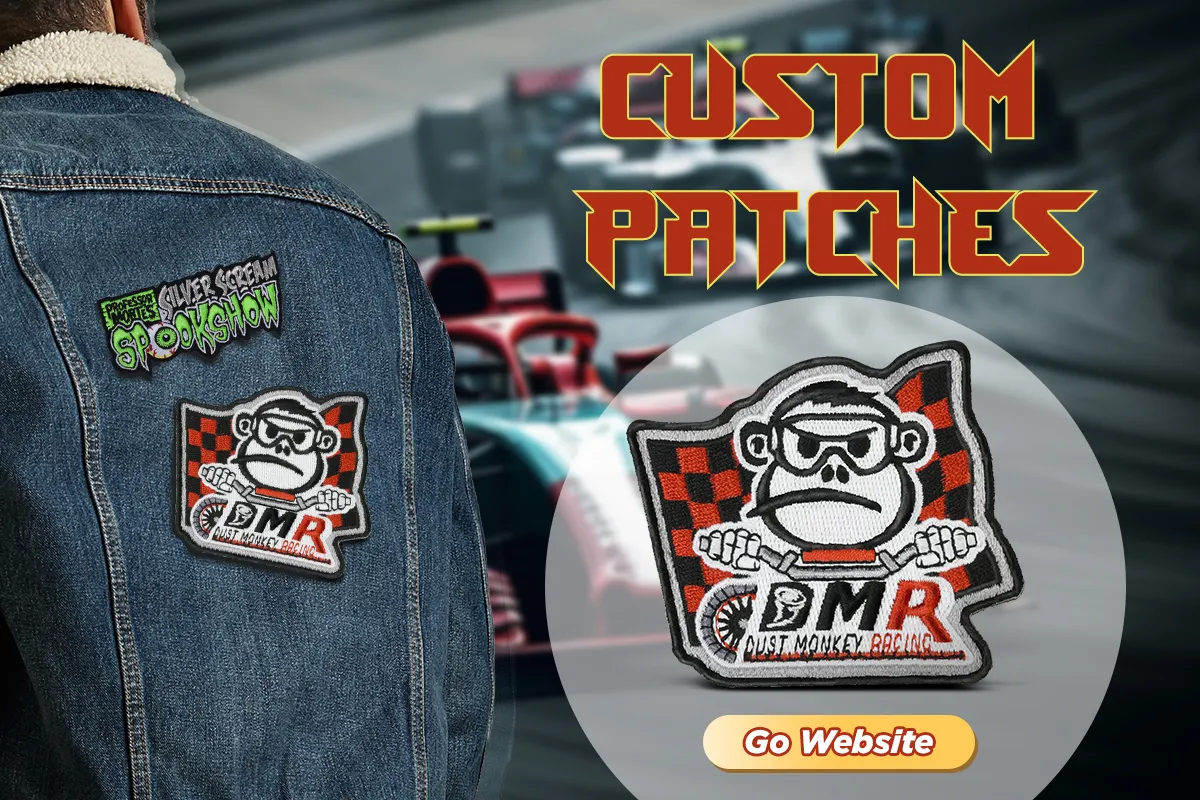
If you want to transform your old clothes or create a custom collection for your products, you won’t be disappointed if you choose custom embroidered patches. Embroidered patches have endless possibilities. They are fashionable and versatile, and can be used to embellish your clothes and give them new life. They can also be used for brand promotion to make your brand stand out and attract more people to know you.
In this guide, we've explored the different backing types and installation methods for embroidered patches to help you better understand this personalized product.
I. What types of backing are available for embroidered patches?
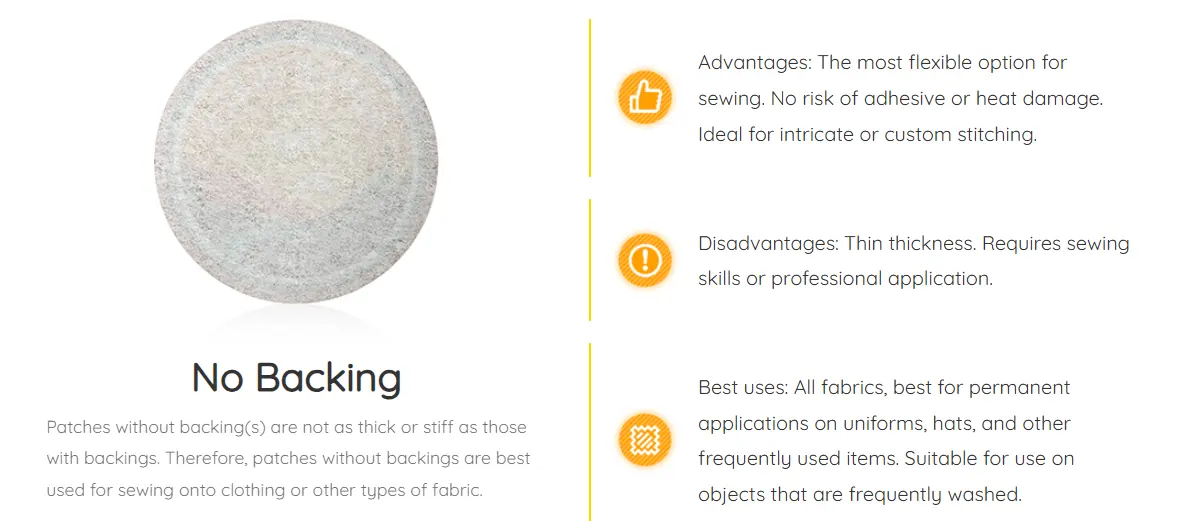
1.No backing
●Advantages
It offers the most flexible sewing options, without the risk of heat damage.
●Disadvantages
It is not as thick and stiff as those patches with backing. It is more suitable for people with sewing skills or professionals.
●Best Uses
It's suitable for all fabrics and can be washed frequently. Ideal for permanently attaching patches to clothing or frequently used items.
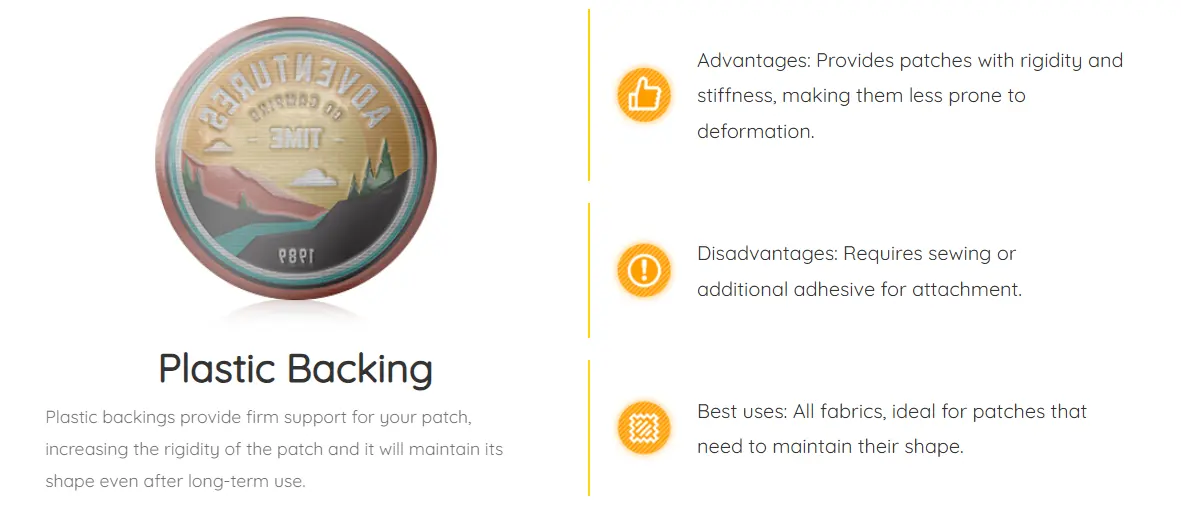
2. Plastic backing
●Advantages
The plastic backing has a certain hardness and can last for a long time without deformation.
●Disadvantages
It requires sewing or adhesive to attach.
●Best Uses
It is suitable for all fabrics and is ideal for those who require the patch to retain its shape.
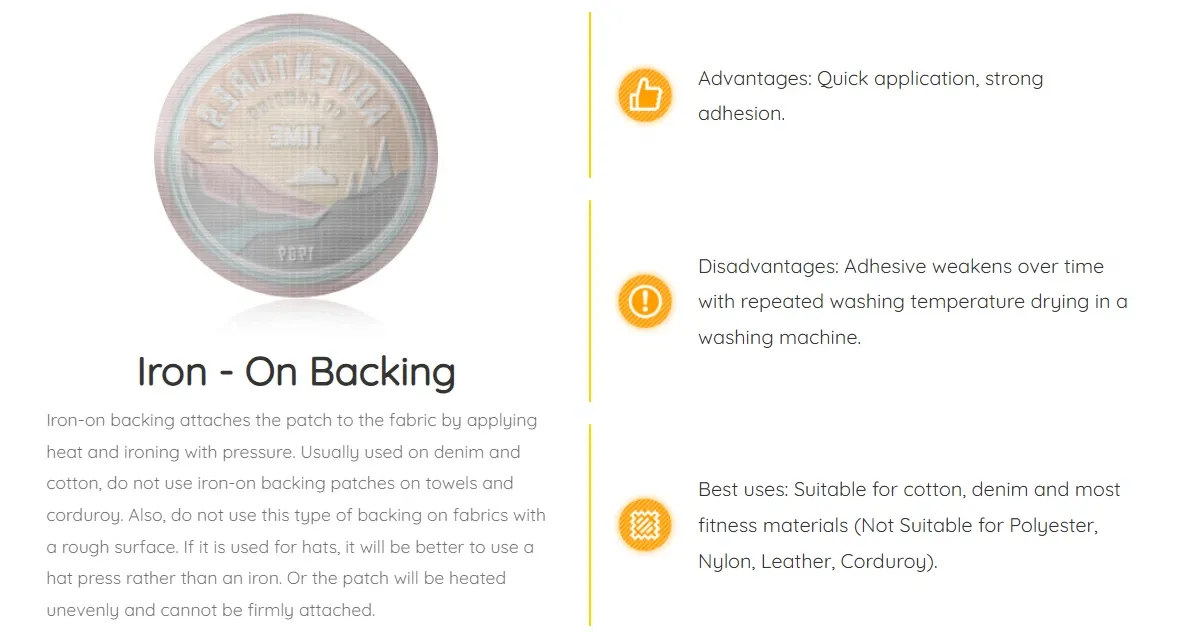
3. Iron-on backing
●Advantages
Iron-on backing uses high-temperature heat and pressure from ironing to quickly attach the patch to the item. This provides strong adhesion.
●Disadvantages
The adhesive will weaken over time if it is washed and dried multiple times.
When attaching to a hat, it is best to use a hat press. Otherwise, if you use an imbalanced heat, it will not stick on properly and will be quite simple to remove.
●Best Uses: Most materials like cotton, denim, etc. (Not recommended for use on materials like polyester, nylon, leather, corduroy, etc., as it will damage the material)
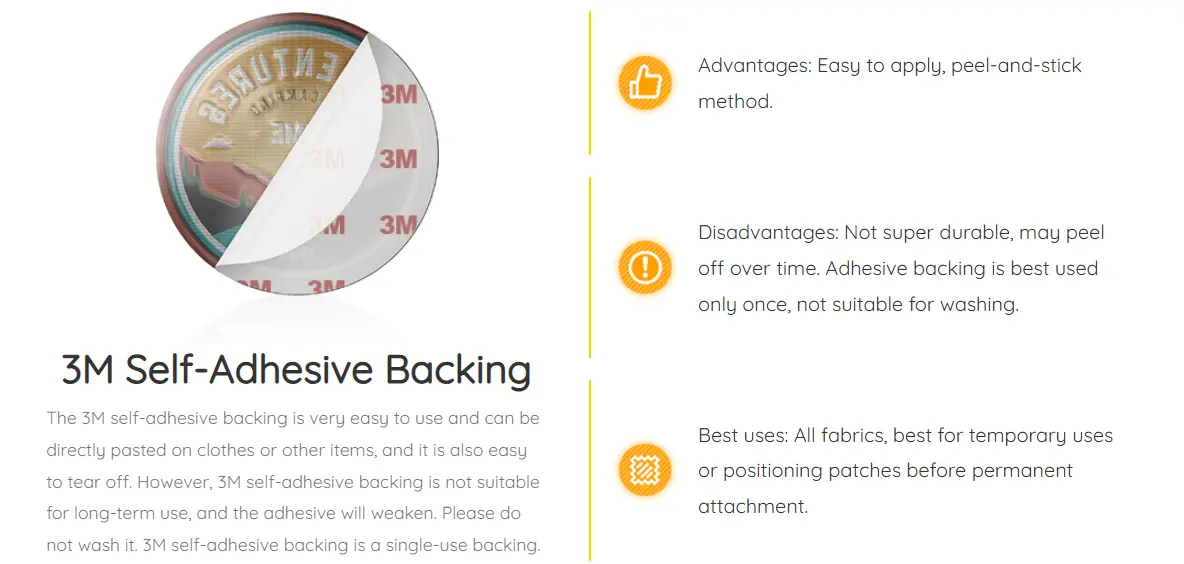
4. Adhesive backing
●Advantages
This adhesive backing is sticky in itself and can be directly attached to the item without heating, which is very convenient to use. It is also easy to remove; if you don't like it, you can just tear it off.
●Disadvantages
The adhesive backing cannot be used long-term as it may easily fall off over time. And it is one-time use, not suitable for cleaning, which will cause the stickiness to decrease.
●Best Uses
It works with all fabrics and is ideal for temporary patch installation.
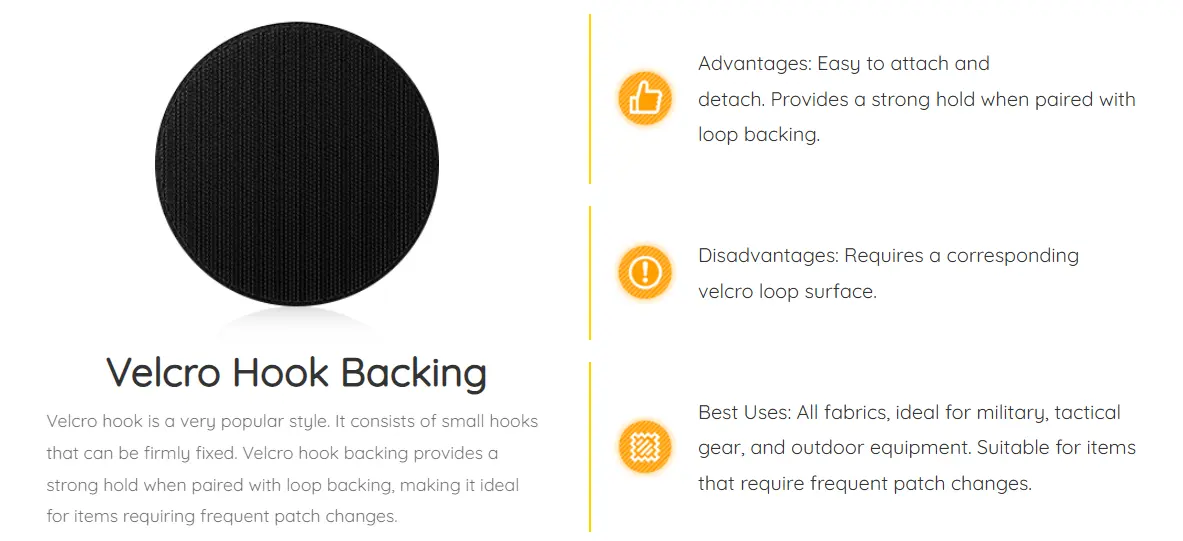
5. Velcro hook backing
●Advantages
Velcro Hook Backing consists of small hooks that hold securely in place and is a very popular style. When used with a terry loop backing, it provides a very secure hold and is easy to install and remove.
●Disadvantages
It must be used with the corresponding Velcro loop and cannot be used alone.
●Best Uses:
It's compatible with all fabrics and is ideal for military, tactical, and outdoor gear.
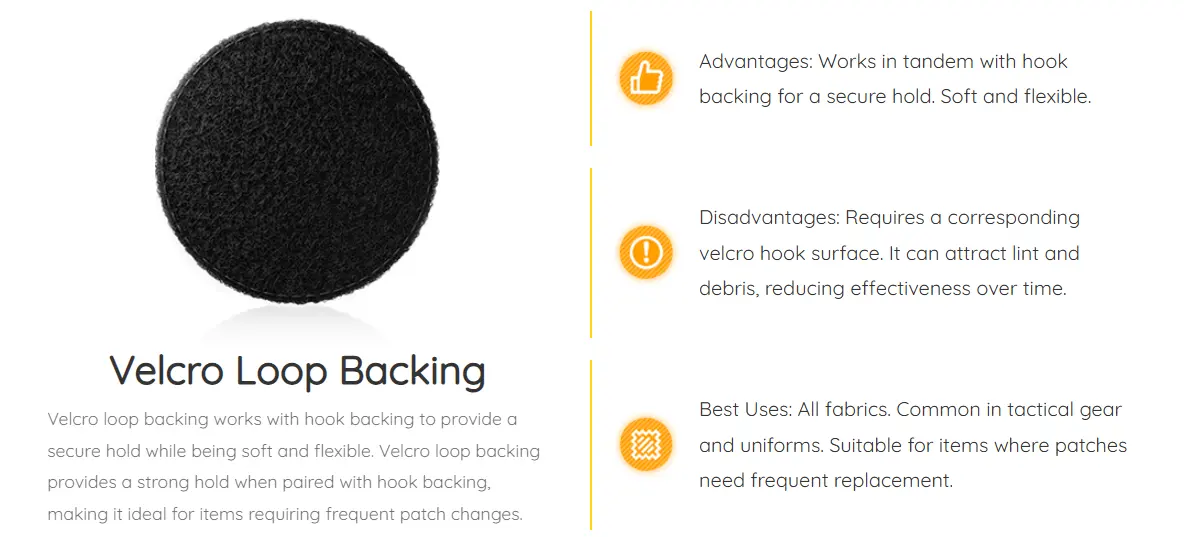
6. Velcro loop backing
●Advantages
The Velcro Loop Backing is soft and flexible, and when used with the Velcro Hook Backing, it provides secure support.
●Disadvantages
It cannot be used alone; it must be used with the Velcro Hook Backing.
It easily attracts debris, lint, and other debris, and its support will decrease over time.
●Best Uses
It's compatible with all fabrics and is ideal for military, tactical, and outdoor gear.

7. Double velcro backing
●Advantages
If your uniform or clothing doesn't already have loop fasteners, a double-sided Velcro backing is the best choice and is very easy to install and remove.
●Disadvantages
Double-sided Velcro backing has both a hook and a loop side. Sew the loop side to your clothing or item, then attach the hook patch.
●Best Uses
It's compatible with all fabrics and is ideal for military, tactical, and outdoor gear.
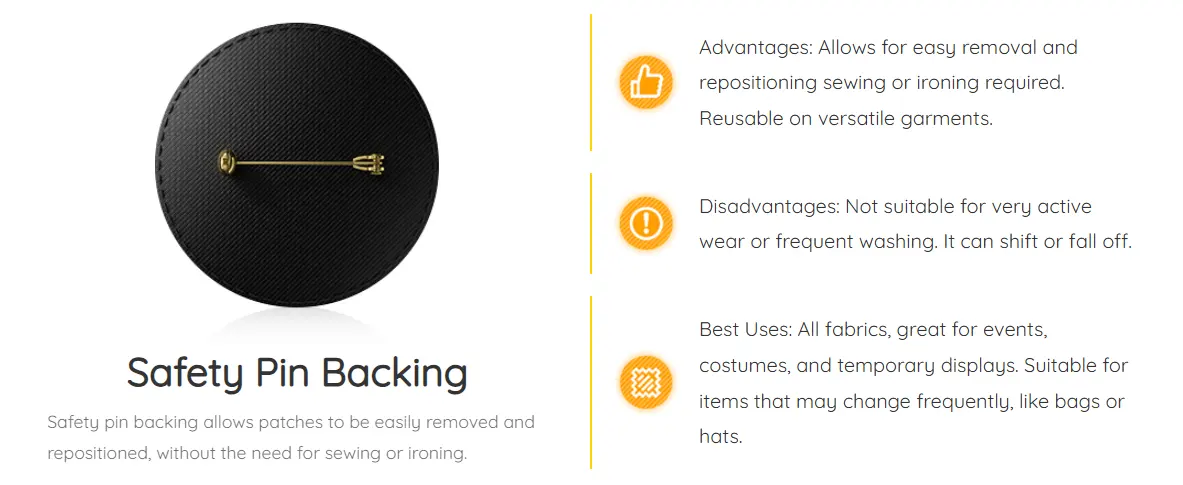
8. Safety pin backing
●Advantages
Safety Pin Backing is easy to install and remove, requiring no ironing or sewing. If your patches are not positioned correctly, they can be easily removed and repositioned.
●Disadvantages
It cannot be washed frequently, as the pins can easily shift.
●Best Uses
This is applicable for all fabrics and suitable for activities and outfit combinations. It is very easy to remove, and you can remove the sticker from it to use for more than one outfit.
II. What preparations are needed before sewing?
1. What tools do I need to sew a patch?
●Needle
This is Main Sewing Tool Sewing it by thread through the patch.
●Thread
Choose a color that matches the patch you ordered to make the stitches less noticeable.
●Scissors
Scissors can be used to trim excess thread from the edges of patches and to cut thread.
●Sewing machine
Using a sewing machine is much more convenient than sewing by hand, and is a better option if you have the resources.
●Iron
Patches with an iron-on backing can be attached using a high-temperature iron.
2. How do I secure the patch so it doesn't bend?
● Sewing the edges
Even for iron-on patches, sew the edges after installation. This minimizes deformation.
● Applying Ironing Pressure
After securing the patch in place, apply sufficient heat and pressure with the iron.
● Adding Adhesive
You can increase the adhesive on the existing adhesive.
● Ironing Surface
Ironing on a flat, hard surface is recommended for easier installation.
III. 9 ways to install embroidery patches
1. Iron on
Ironing on an embroidered patch is one of the quickest and easiest ways to install it. Below is a detailed guide on embroidery patches. You can watch the step-by-step guide and then the video to help you further master this installation method.
Here are the specific steps:
Step 1- Preheat your iron and iron the garment.
Step 2- Place the patch where you want it to be installed.
Step 3- Cover the patch with a clean towel.
Step 4- Set your iron to 302°F to 356°F and iron the patch with 3 kg of pressure for 20-25 seconds.
Step 5- Check that all patches are properly installed.
2. Glue on or fusile web
Glue-On or Fusile Web can be easily installed on items, but they cannot be washed in the washing machine many times, otherwise the adhesive will weaken.
Here are the specific steps:
Step 1-You need to choose a special glue for textile bonding to stick the patch. Ordinary glue is not suitable.
Step 2-Both the patch and the clothes need to be dry and laid flat.
Step 3-You now have to put some glue on the back of the patch. You have to put glue around the edge; otherwise, it won't stick.
Step 4-Place the patch on your desired item and press for 30 seconds to allow the glue to set. Do not move the patch while pressing.
Step 5-Once the patch is attached, let it sit for an hour. Please don't move it too soon. It's best to wait 24 hours before wearing the patch.
3. Velcro
Velcro is suitable for people who care about both style and functionality. It's easy to replace and allows for frequent adjustments. Below is a Velcro installation tutorial.
Here are the specific steps:
Step 1-Choose a Velcro strip or patch designed for fabric.
Step 2-Both the patch and the garment need to be dry and laid flat.
Step 3-You install the backing of Velcro Loop Backing or Double Velcro Backing by gluing or sewing.
Step 4-Align the Velcro Hook Backing on the patch with the Velcro Loop Backing on the garment and press them firmly together.
4. Textile adhesive
Some people who are not good at manual sewing cannot operate it, so you can use the Textile Adhesive method to install it:
Here are the specific steps:
Step 1-You apply a smear of glue to the back of the patch.
Note: You must put glue evenly around the edge, or it will not stick.
Step 2-Place the patch on your desired item and press down for 30 seconds to allow the glue to adhere. Do not move the patch while pressing.
Step 3-Once the patch is attached, let it sit for an hour. Don't move it too soon. It's best to wait 24 hours before wearing the patch.
5. Glue gun
The glue gun has a stronger bond than regular glue. However, you do have to pick the right glue gun according to the clothing material:
● Normal Temperature Glue Gun: The glue temperature is around 380°F, and it is ideal for heavier clothing, but will ruin lighter clothing.
● Low Temperature Glue Gun: The glue temperature is around 260°F, and it is ideal for lighter clothing and more delicate items
● Adjustable Temperature Glue Gun: You can adjust the temperature of the glue gun to your needs.
Here are the specific steps:
Step 1-Both the Pin and the Clothing must be flat and dry.
Step 2-Heat your glue gun to a temperature appropriate for the fabric of your garment.
Step 3-You apply a layer of glue to the back of the patch. Remember to apply the glue evenly around the edges; otherwise, it won't be securely attached.
Step 4-Place the patch in your desired location and press firmly for 30 seconds to allow the glue to set. Be careful not to move the patch while pressing.
Step 5-You'll need to wait a few minutes after pressing to allow the glue to dry thoroughly. This is to allow the glue to dry thoroughly, and once dry, check the edges to make sure the patch is firmly bonded. If any areas are loose, apply a small amount of glue to the loose edges and press again.
6. Double-sided tape
Double-sided tape is suitable for beginners. You can trim it according to the shape of the patch, which is very easy to do.
Here are the specific steps:
Step 1-Both the patch and the garment need to be dry and laid flat.
Step 2-Apply double-sided tape to the back of the patch, pressing firmly to ensure even adhesion.
Step 3-Press the patch onto the garment, pressing firmly and smoothing out any wrinkles.
7. Hair straightener
As a household appliance, hair straighteners can actually be used to iron patches. Here are the specific steps:
Step 1-Lay the garment flat on a smooth surface and place the iron-on patch. Cover the patch with a thin towel to protect both the patch and the fabric.
Step 2-Boost the straightener to 100°F to prevent the patch and garment from overheating and being damaged.
Step 3-Place the straightener on the towel-covered area for approximately 10 seconds. Use slow strokes to ensure even heat distribution.
Step 4-Allow the patch to cool for 2 minutes. Remove the towel and check that the patch is stuck down correctly, and repeat step 3 as necessary for the edges to adhere.
Step 5-If necessary, wash the patch after 24 hours, hand-wash in cold water and mild detergent to avoid removing the adhesive.
8. Hand-sew
Hand sewing is a classic way to attach a patch and keeps it nice and secure. Here's how to do it:
Step 1-With this you can start by pinning the patch where you want it to be, so the patch won't move while you are sewing.
Step 2-This is very important to the look of your patch.
Step 3-Repeat this process by going through the patch and sewing around the edge of the patch.
Step 4-After you are finished sewing, tie a knot in the back of the shirt and cut off any excess thread so the back of the garment looks neat and tidy.
9. Machine sew
Machine sewing is the most efficient way to apply patches and is a good option if you need to apply patches in bulk.
Here are the specific steps:
Step 1-Use pins to secure the patch in the exact position you want it in.
Step 2-Pick a thread color that matches your patch. If the patch is thick, go with a strong needle and thread so they don’t snap while you sew.
Step 3-Lay your garment flat under the sewing machine. Line up the patch carefully so it sits just right.
Step 4-Sew around the patch slowly. Watch the fabric as you sew and smooth it out if it starts to bunch.
Step 5-When you’re done, tie the thread and snip off the extra. Give the edges a quick look, and tack down anything that feels loose.
IV.. Conclusion
These are nine ways to install custom patches. There are many ways to install a custom patch, and everyone can choose the most suitable method based on their actual situation and existing tools.
The prerequisite for installing custom patches is a beautiful, refined patch. Come to GSJJ and customize your favorite patch!

How to Choose the Ideal Neon Sign Size?
A neon sign is described as "a bright sign composed of either flexible LED neon or traditional glass neon tubes that gives off a bright glow." Most neon signs used to consist of glass tubes filled with neon gas, but now most neon signs will have LED equivalents that are more energy efficient, safer, lighter, and less brittle.

9 Best Enamel Pin Manufacturers in 2025
Enamel pins are beautiful and elegant, and have always been a beloved item. They not only enhance your wardrobe and enhance your style, but also carry brand stories and sentiments. With the growing demand for enamel pins and the increasing demand for quality, choosing the right custom enamel pin supplier is crucial.
There are many pin suppliers on the market, some with poor reputations. To facilitate your selection, we have selected the following 9 custom pin makers with an excellent reputation from many suppliers, hoping to help you make a choice.
Top 7 Custom Medal Makers Recommendations
Do you want custom medals for your event? You've come to the right place! Our guide can help you select a suitable maker.
The suitable maker is important to your purchasing experience and the quality of the product you receive. We've compiled a list of seven leading manufacturers in the custom medal market. Use this article to determine which manufacturer is best for you.