


How to Remove Iron-On Patches?

Ethan Carter

Iron-on patches are wonderful to customize or adorn your apparel with, but when the patch has expired or is broken, or you wish not to have the patch set in your garment, you must have it removed. Iron-on patches need utmost caution for removal, or they will spoil the garment, or the custom patches will adhere to the garment.
In this tutorial, we will discuss what to check before iron-on patch removal, removal of the iron-on patch, how to deal with residue glue, and preparation of the garment for removal.
I. What to check before removing an iron-on patch?
It is a great idea to apply the patch to your gear and clothes first before removing it. Being negligent might destroy your clothes or make the glue hard to remove.
1. Fabric material
Different textures respond to heat, steam, or chemicals differently. Thicker materials such as denim and cotton can accept high temperatures, while light options such as polyester, silk, and wool demand gentler treatment. Always consult the care tag of the item before exposing it to heat or cleaning chemicals to prevent possible damage.
2. Reusing patches
If you are forced to reuse the patch, take it off slowly. There are some techniques like the freezer method or removers that will remove the patch intact, but others will destroy it.
3. Preparing the required tools
Get ready in advance for what you'll need. Having the supplies available will make the process easier:
● Iron or hair dryer
● Steam source (iron with steam function or garment steamer)
● Rubbing alcohol or adhesive remover
● Freezer and plastic bag
● Barrier cloth (thin cotton towel or pillowcase)
● Clean cloths or towels
● Tape (such as duct tape or masking tape)
II. Methods for removing iron-on patches
1. Using an iron or hair dryer
Heat will unbond the adhesive, and you can remove it with heat from a hair dryer or an iron.
With an iron, place a thin piece of cotton cloth over the patch and get the iron hot on medium. With a hair dryer, hold the dryer close to the patch for a few minutes until the glue is softened, then slowly peel off the patch from one edge.
2. Using steam
Steam will make tough adhesives loosen. Hold a garment steamer over the patch or switch on the steam function on an iron. Once the patch is pliable, peel it off with your fingers or tweezers.
3. Using the freezer method
For heat-sensitive fabrics, the freezer technique is best. Put the garment in an ordinary plastic freezer bag and put it in the freezer for some hours. This will make the adhesive dry, so the patch will peel better without ruining the garment.
4. Using adhesive removers or rubbing alcohol
For embroidered patches that are too firmly adhered to remove, you can apply adhesive remover or rubbing alcohol to the edges. Let it sit for some minutes, then slowly peel. This method also removes all sticky adhesive left over. Always be sure to test on an inconspicuous area so that it doesn't mark the fabric.
5. Time and patience
Removing a patch isn’t always quick. Some adhesives lift right away, while others require repeated steps. Give yourself enough time so you don’t rush the process and accidentally harm your clothing.
III. How to remove residual adhesive?
Even after iron on embroidery patches removal, there's generally sticky residue that's left on the clothes. When not disposed of properly, it can draw dust, cause discoloration, or cause the clothes to feel stiff. These are some methods that you can apply:
1. Gently wash with warm cloth and with rubbing alcohol.
Soak a gentle cloth with rubbing alcohol (or isopropyl alcohol) and drape it over the adhesive area for 1–2 minutes. This will loosen the glue. Rub slowly in circles until the adhesive begins to peel away. Repeat the process for heavy adhesive layers. Be sure to test the alcohol on an inconspicuous seam first so the color doesn't fade.
2. Attempt to peel the adhesive away with tape.
If you have only a few sticky fragments remaining, adhesive tape such as painter's tape or duct tape will suffice. Put the tape over the sticky substance, holding down tightly; then yank the tape off. Try the process several times with fresh tape until the area feels smooth. This method works especially well on surfaces that will not tolerate heat or strong chemicals.
3. Heat a towel with an iron and gently rub.
For heat-worthy fabrics (cotton, denim), put a thin towel over the tacky place and pass the area with a warm iron on top. Adhesive melts down and ends up on the towel. You'll likely need to re-towel and repeat several times until most of the adhesive is removed.
4. How to use special adhesive removers.
Fabric-safe commercial adhesive removers are also an excellent solution. Use a minimal amount on the stained area and let it sit for the recommended time on the label. Gently wipe clean with a cloth until the adhesive is broken down. Be sure to ventilate the area and use safety instructions, as the removers have strong smells.
IV. How do I protect clothing while peeling off patches?
Patches are taken out using heat, water, or chemicals—any of which would ruin delicate fabrics if misused. To keep your closet in tip-top condition, keep the following cautionary tips in mind:
1. Apply a barrier cloth
At all times, use a thin strip of cotton fabric, pillowcase, or paper parchment between clothing and source of heat. This protects the clothing from direct heat that will burn, melt, or leave shiny marks.
2. Peel slowly from the edge
Begin at the edge of the patch and slowly peel it off. If the adhesive is too sticky, stop and reheat or use the solvent again. A sudden jerk will pull the patch off and break threads, stretch the material, or imprint a mark that won't wash out after washing.
3. Regulate temperature based on fabric type
Denim and Cotton: These can handle a bit of heat, so you can use a hot iron without any risk.
Polyester and Nylon: Use low to moderate heat so that they don't get melted or bent.
Silk and Wool: Avoid direct heat; use the freezer method or low-tack remover.
4. Test before applying chemicals
When applying rubbing alcohol or adhesive remover, test it on a small, inconspicuous area first to ensure that the solvent will not discolor or strip the fabric.
5. Support the fabric during removal
You may place a clean towel or ironing board under the garment while ironing. This provides a stable surface and prevents heat or chemicals from seeping through to the reverse side of the fabric.
6. Post-removal care
After patch removal and adhesives, wash the clothing according to its care label. It helps to wash off any excess glue, chemical contaminants, or alcohol smell from the fabric, leaving it cleaner and fresher.
V.Conclusion
Removing your iron-on patches does not necessarily have to destroy your outfit. This guide will allow you to have a means of discovering the proper way and tools for patch and adhesive removal without damaging your garment, based on the material you possess. If you are looking to refresh your wardrobe, add fresh patches to your clothes, or you just want to take out the old patches, these steps will guide you on how to remove patches in the most effective manner and protect your clothes safely.
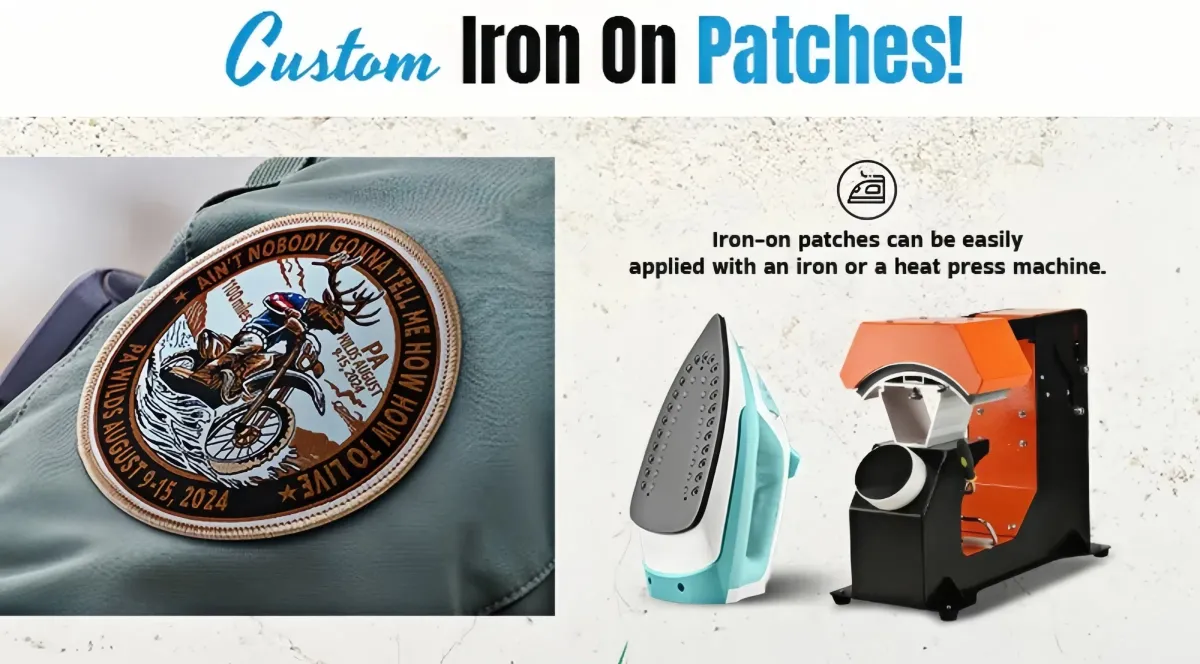
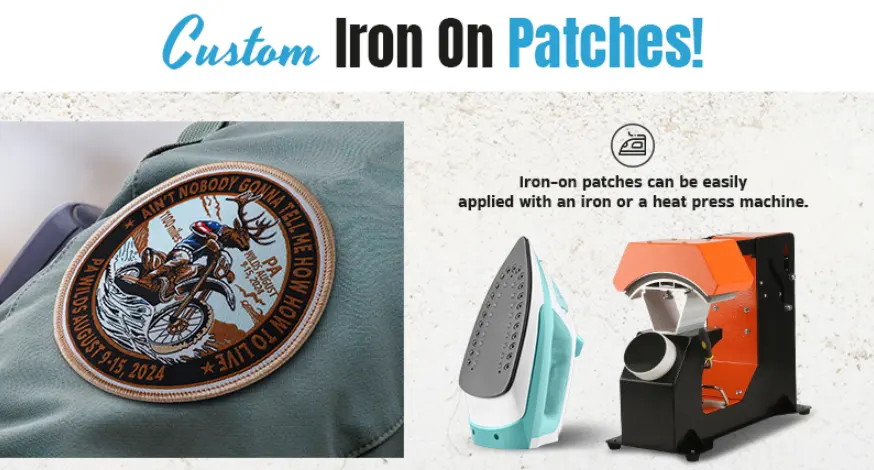
How to Iron On Patches?
There are many options for patch backing, including plastic backing, iron-on backing, adhesive backing, and Velcro backing. Each different backing is used differently. Among these backings, iron-on backing is the most suitable for DIY use on ordinary clothes. This backing only requires an iron and a heat press to quickly bond the patch to the clothing, and this bond remains long-lasting and strong.
However, due to the need to use an iron and a heat press, most people may face the problem of how to iron the patch. The following guide will solve all your problems for you.

How to Start a Patch Business: The Ultimate Guide
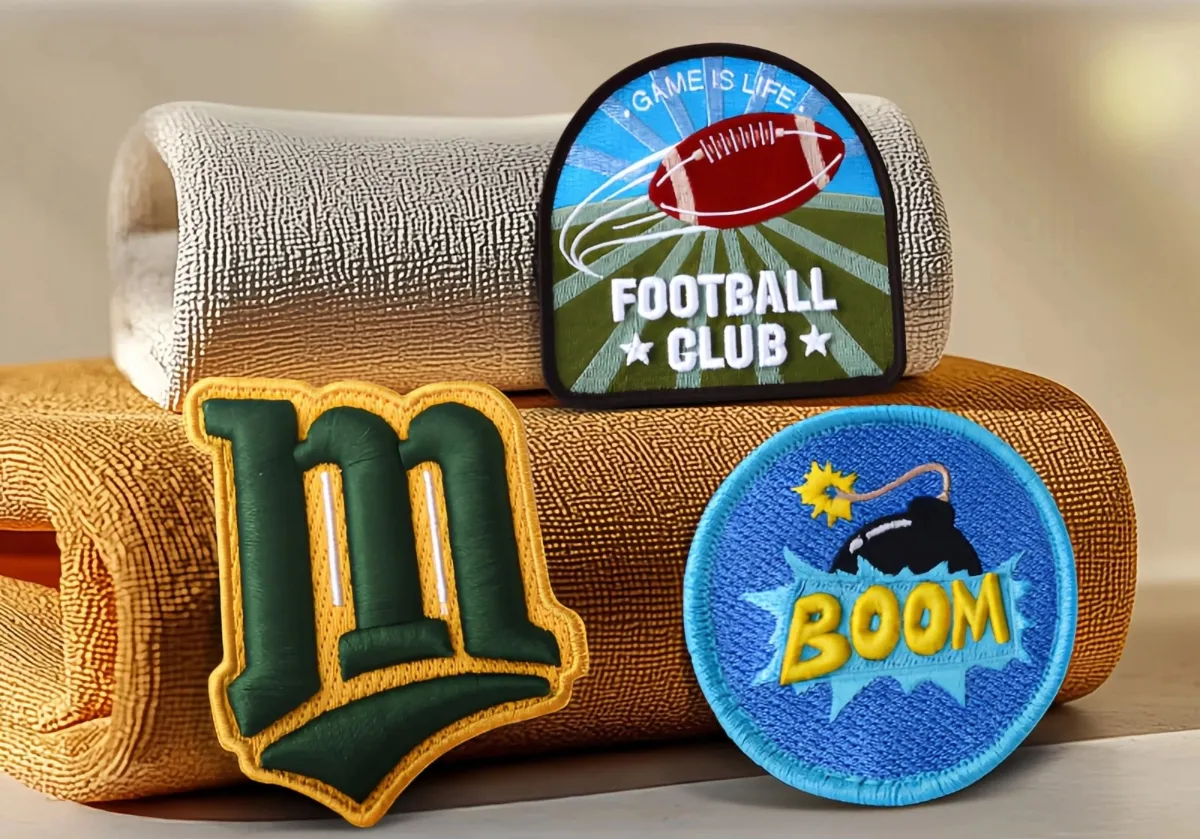
The development of social culture has made patches a fashion symbol. People's pursuit of beauty and fashion has also continuously developed the use of patches, such as refrigerator magnetic patches, patch blind boxes, patch brooches, etc.
Creative applications in this regard have also attracted more people to buy. Market demand has also made people consider starting their own patch business and transforming from buyers to sellers. Let us take a deeper look at how to start a patch business.

The Ultimate Guide to Choose Custom Patch Makers
Custom patches are items imbued with personal style. From adorning clothing to becoming a symbol of a team, they are a medium for showcasing a person's unique personality and style.
This guide will introduce you to the world of custom patches, exploring different types, common challenges encountered during the customization process, and introducing you to reliable custom patch manufacturers. Let custom patches open up endless possibilities for your fashion journey.