


How to Iron On Patches?

Lea Alber
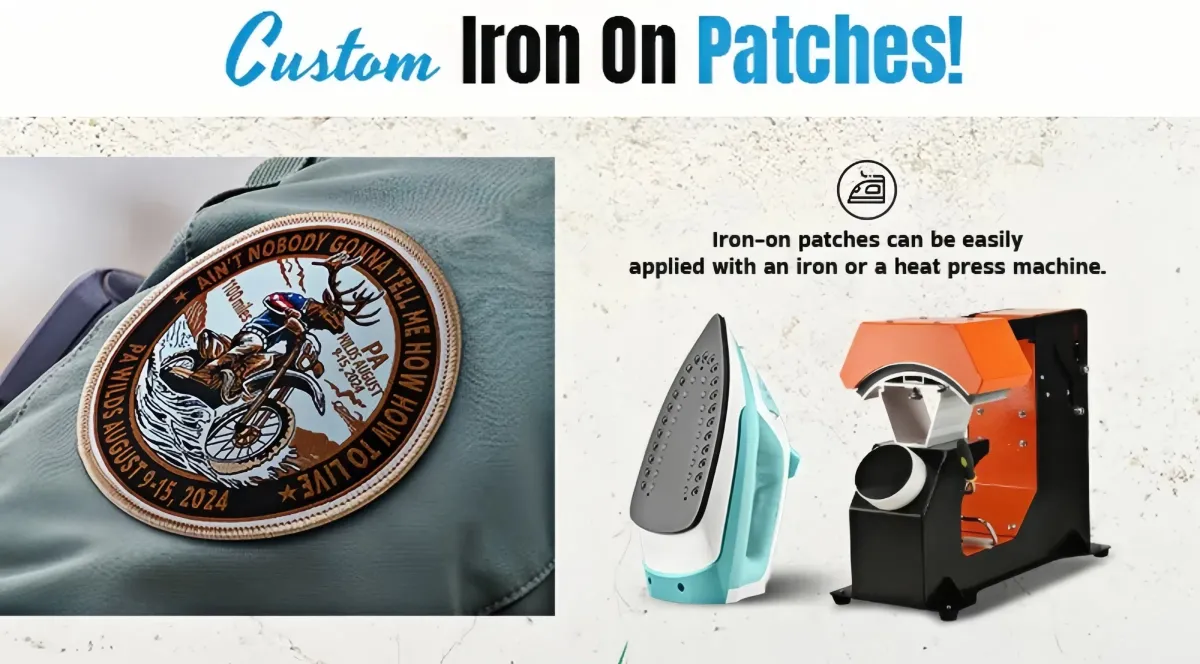
There are many options for patch backing, including plastic backing, iron-on backing, adhesive backing, and Velcro backing. Each different backing is used differently. Among these backings, iron-on backing is the most suitable for DIY use on ordinary clothes. This backing only requires an iron and a heat press to quickly bond the patch to the clothing, and this bond remains long-lasting and strong.
However, due to the need to use an iron and a heat press, most people may face the problem of how to iron the patch. The following guide will solve all your problems for you.
I. Materials you’ll need
To properly iron a patch, prepare the following items:
1. An iron on patch (make sure it's an iron on patch)
2. An item of clothing or fabric surface (clothing, hats, backpacks, etc.)
3. An iron (set to medium-high heat with no steam)
4. A pressing cloth or thin towel (to cover the patch, it can get heat-damaged)
5. Set the item on a stable, heat-safe surface such as an ironing board or a solid table.
6. Needle and thread (Optional - if you want to do a more secure stitch as a method of reinforcing)
II. Step-by-Step guide: how to Iron on patches?
1. Prepare the fabric
The garment has been washed and dried completely to remove any dirt or any other surface residue that may affect adhesion. The garment is laid flat on a proper pressing board or heat-safe surface, ensuring that it has no other creases.
2. Position the patch
Position the patch on the material in the desired location, face up, and temporarily hold it in place with pins or tape.
3. Protect and heat
Use a thin towel or pressing cloth to cover the patch so that it will not come in direct contact with the iron, since the hot iron can scorch the material.
4. Apply the patch
Different types of patches require different iron temperatures, ironing times, and pressures. Here are 10 main types of patch ironing methods and operation videos.
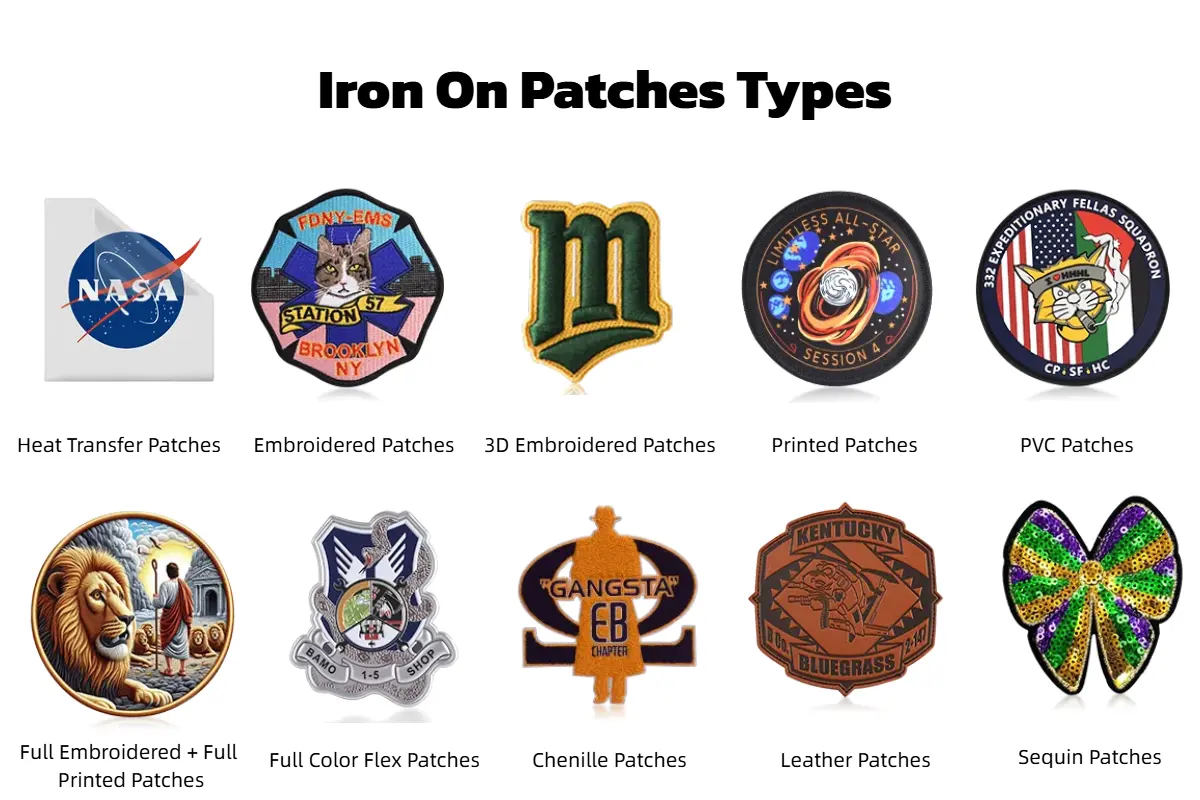
● Embroidered patches
Temperature: about 320°F
Ironing time: about 25s
Ironing pressure: about 2KG weight
Iron on the front
● PVC patches
Temperature: about 356°F
Ironing time: about 25s
Ironing pressure: about 3KG weight
Iron on the backside
● Printed patches
Temperature: 284~302°F
Ironing time: about 30s
Ironing pressure: about 2KG weight
Iron on the front
● Leather patches
Temperature: about 356°F
Ironing time: 18-25s
Ironing pressure: about 2KG weight
Iron on the front
● Chenille patches
Temperature: 325°F~350°F
Ironing time: 20-30s
Ironing pressure: about 3KG weight
Iron on the backside
● 3D Silicone patches
Temperature: 320~350°F
Ironing time: 30s
Ironing pressure: about 6KG weight
Iron on the front
● Heat transfer patches
Temperature: 320~350°F
Ironing time: 15-20s
Ironing pressure: about 2KG weight
Iron on the front
● Sequin patches
Temperature: about 356°F
Ironing time: 30-40s
Ironing pressure: about 4KG weight
Iron on the front
● Full color flex patches
Temperature: about 302°F
Ironing time: 15-20s
Ironing pressure: about 2KG weight
Iron on the backside
● One color flex patches
Temperature: about 302°F
Ironing time: 15-20s
Ironing pressure: about 2KG weight
Iron on the backside
5. Check and repeat if needed
Allow the patch to cool for a few moments and carefully place your hand on the edge to test its attachment. If you feel that it is still not adequately glued down, cover it with a protective cloth and apply the iron again.
6. Cooling and setting
Once ironing is done, allow the garment to cool fully so the adhesive can bond properly. To make the patch last longer, reinforce it by stitching around the edges.
III. Extra tips & tricks
1. Fabric compatibility
● Iron on patches utilize hot-melt glue to secure themselves to your fabric when applied with heat and pressure. Iron on Patches are best for, but not limited to, heat-resistant fabrics including cotton, foam, denim, and canvas.
● Patches are not suitable for, but not limited to, nylon, leather, wool, or stretch fabrics, as it is unlikely they will withstand temperatures exceeding approximately 500°F, or adhere to the surface securely.
2. Durability
● Edges may lift despite adhering securely to the application fabric, especially after lots of friction or washing.
● We suggest sewing the edges of the patch by hand with a needle and thread if you care about the look of the edge and preventing premature edge lift.
3. Washing & care
● We suggest washing in cold water with a gentle cycle and no agitation or heat exposure.
● Washing inside out and allowing it to air dry may prevent high heat from the dryer from damaging the adhesive layer in the patch.
IV. Conclusion
Iron on patches are easily one of the most convenient and enjoyable ways to customize apparel and other accessories. Simply pick the right backing, properly prepare the fabric, and apply heat in the right way to get a clean and long-lasting bond.
What Size Should a Custom Patch Be?
The proper size of a patch will vary with some variables, like where the patch is going, how complicated the design is, and the requirement for it to be visible at all.
In other words, a 2-inch patch may be perfect for the front of a hat, but a patch that is 10 inches is not a proper size to place on the brim of a hat unless it is on the back of a jacket. If you stay aware of a handful of guidelines, you should be able to find a size that works for the purpose you're intending and then the level of impact that you will want.
The Ultimate Guide to Choose Custom Patch Makers
Custom patches are items imbued with personal style. From adorning clothing to becoming a symbol of a team, they are a medium for showcasing a person's unique personality and style.
This guide will introduce you to the world of custom patches, exploring different types, common challenges encountered during the customization process, and introducing you to reliable custom patch manufacturers. Let custom patches open up endless possibilities for your fashion journey.
