


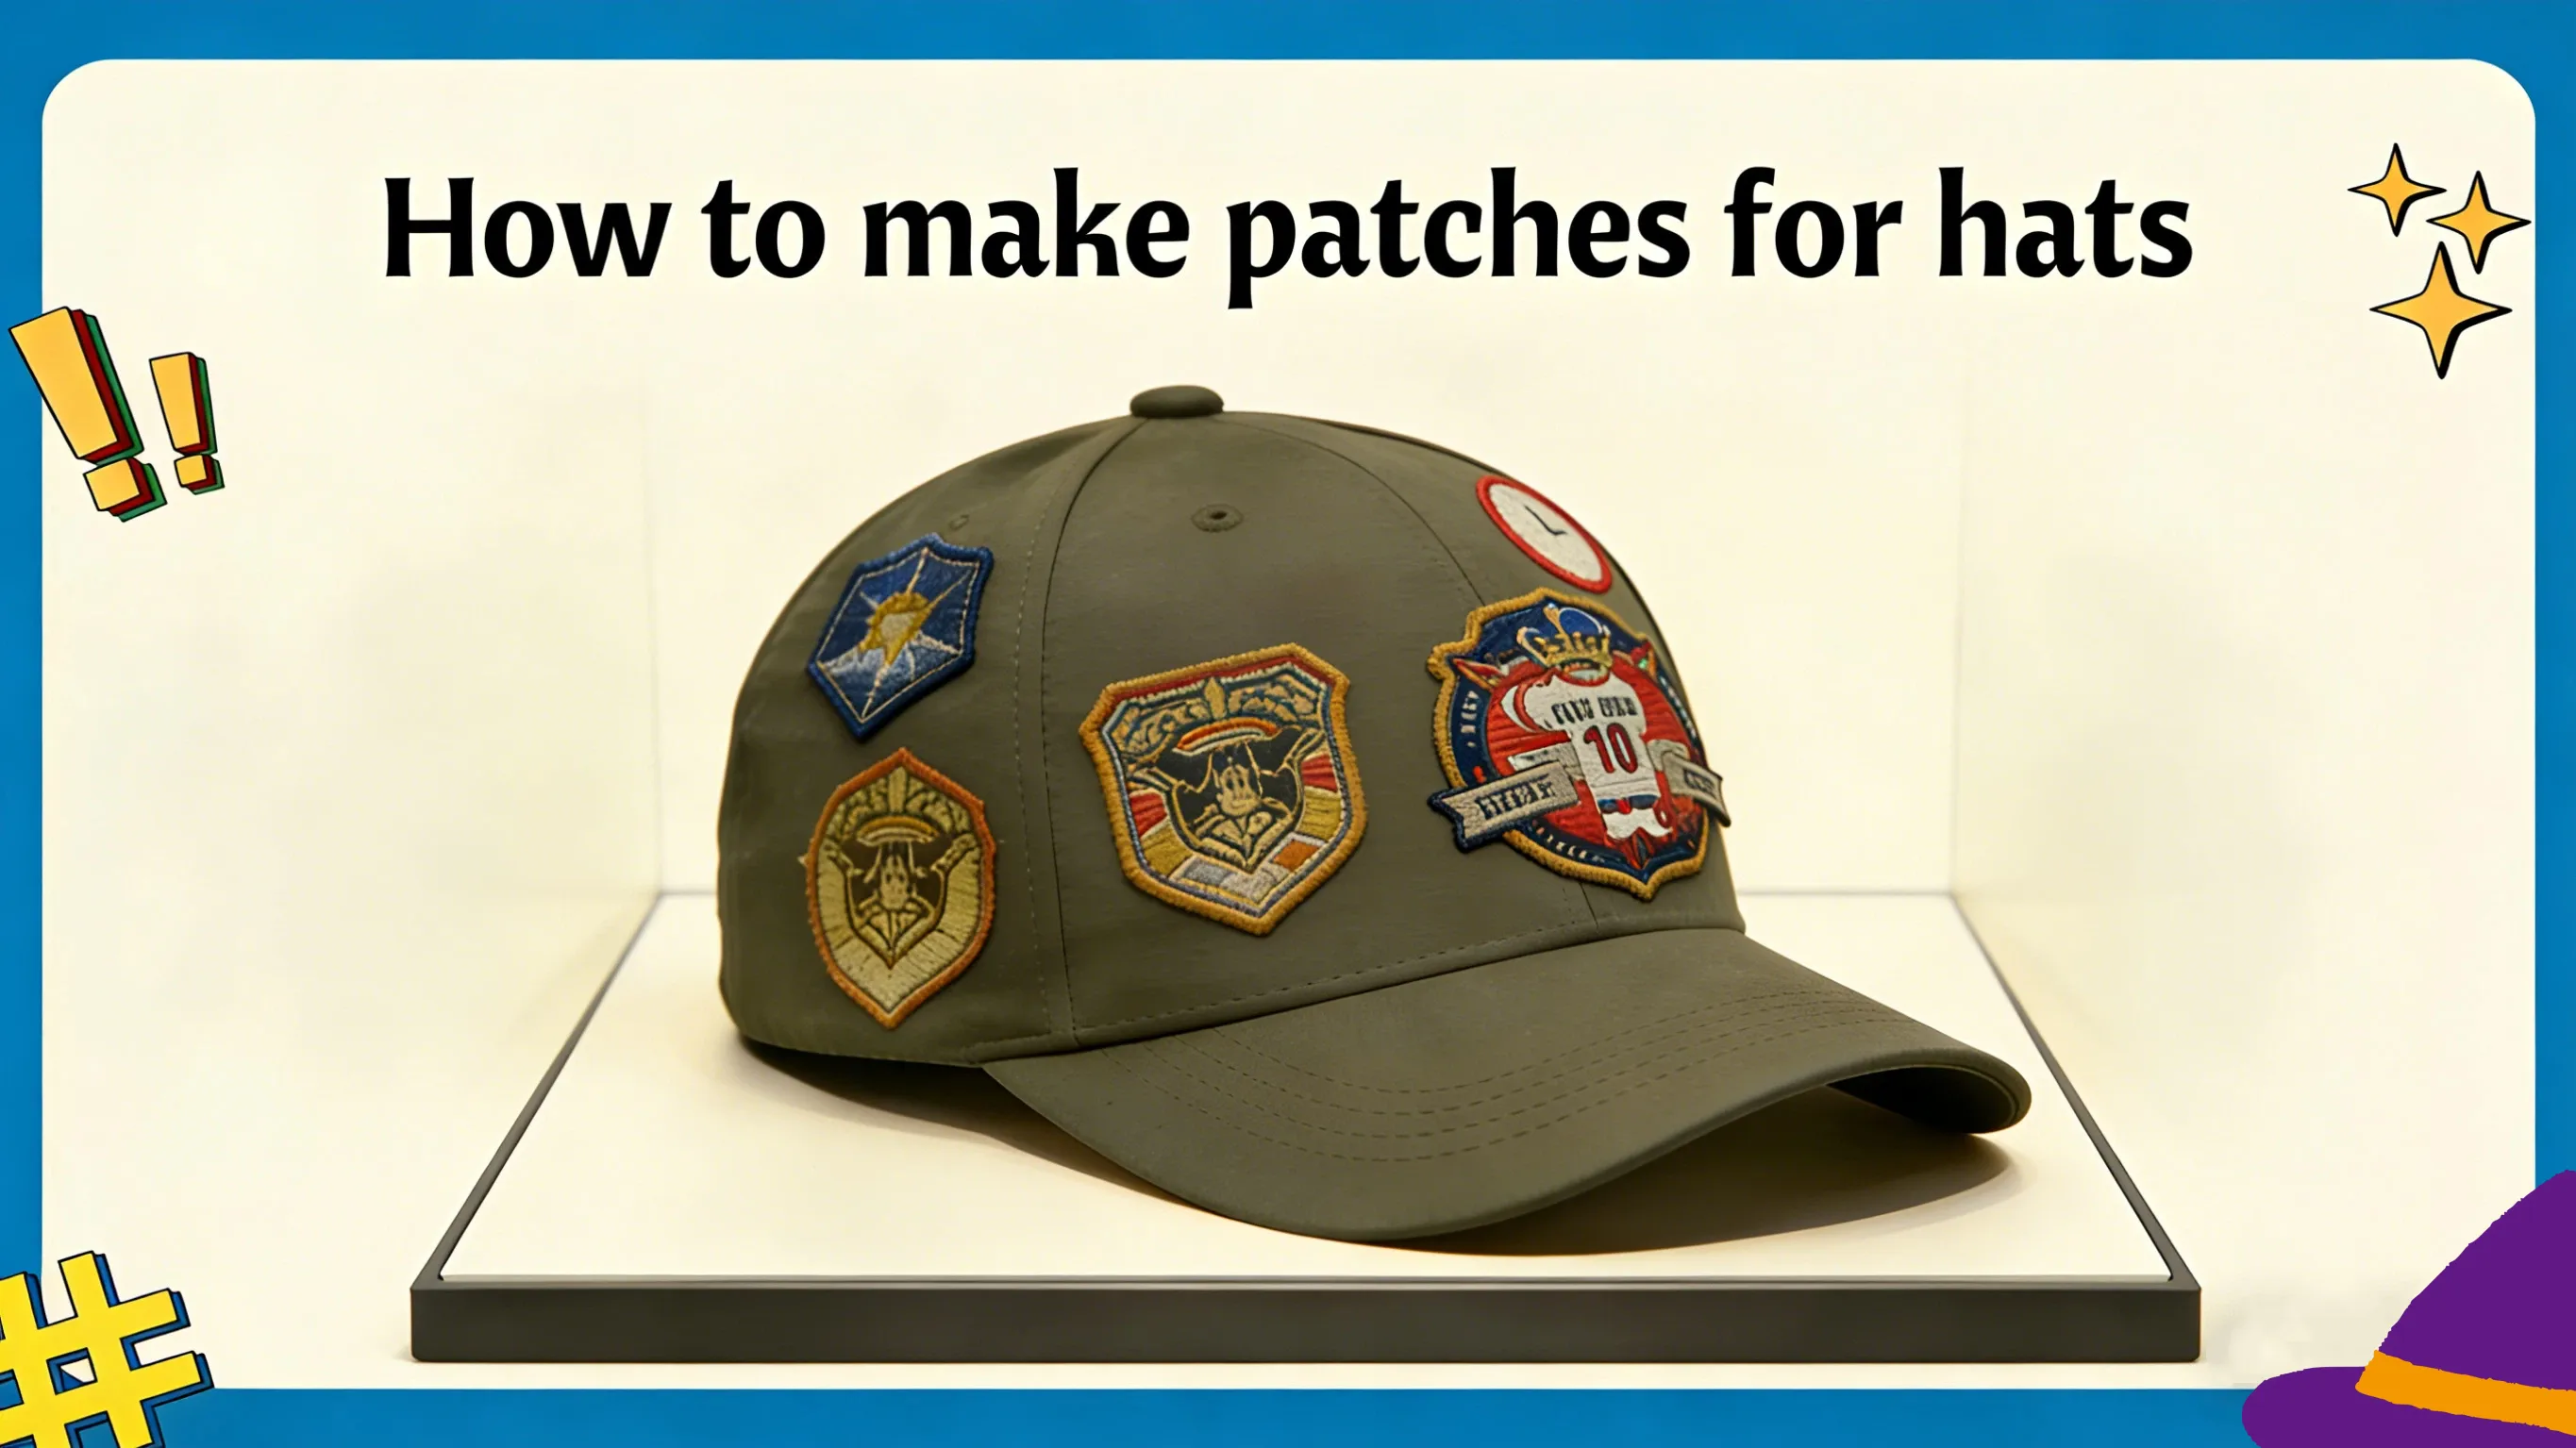
How to Make Patches for Hats

Lea Alber
With the ongoing transformation in trends and the shift to individualistic consumption, personalized hat patches have emerged as one of the most sought-after hat accoutrements.
And, the explanation is straightforward: through patches, one can either instantly tailor the hat's look, or more importantly, reveal one's identity, share team spirit, and even adopt a challenge in the form of fashion.
I.Where can I use hat patches?
Corporate uniform and work wear: Caps that wear the brand logo can guarantee a rise in the visibility and elevation of the brand's image.
Sports teams, clubs, and schools: The patches with the team logo lead to a greater sense of belonging to the team.
- Fashion custom hats: The youth love to show their uniqueness through the prints.
- Gifts and giveaways: Custom caps with patches are greatly in demand during marketing events, as they are used to attract the audience.
- Outdoor product brands: The likes of leather patched hats and PVC outdoor hats, they display the criterion of toughness and quality.
Hence, irrespective of whether you are the brand, designer, maker, or just want to own a stunning hat, acquiring patch-making skills will be very handy indeed.
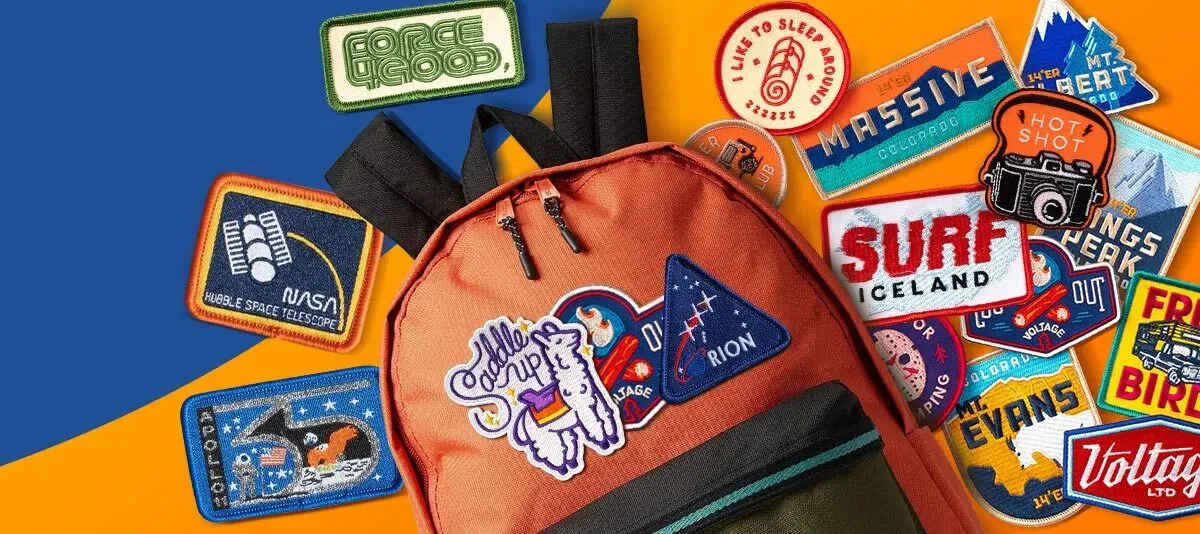
II. Types of Patches Used on Hats
Тhere are specialized patches based on the material they are made from and each type provides a different visual appearance and feeling. An extensive comparative table, assisting you to locate better the differences is as follows:
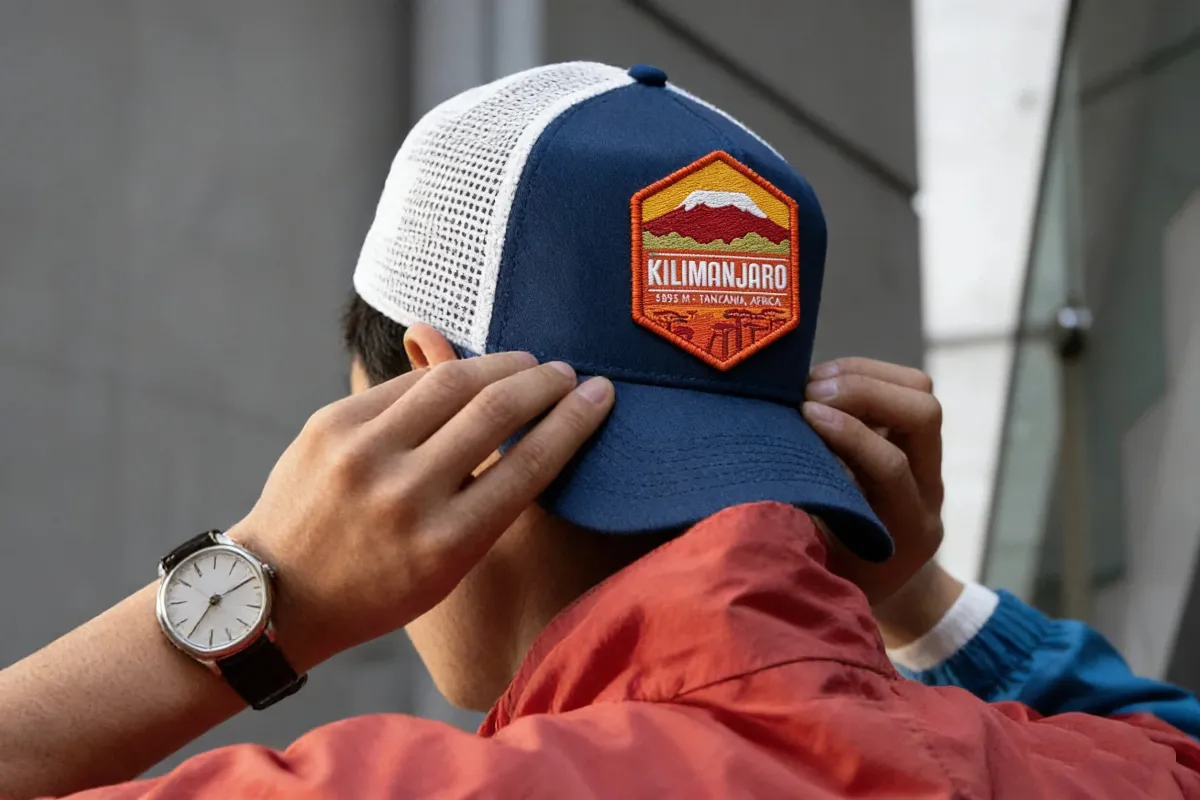
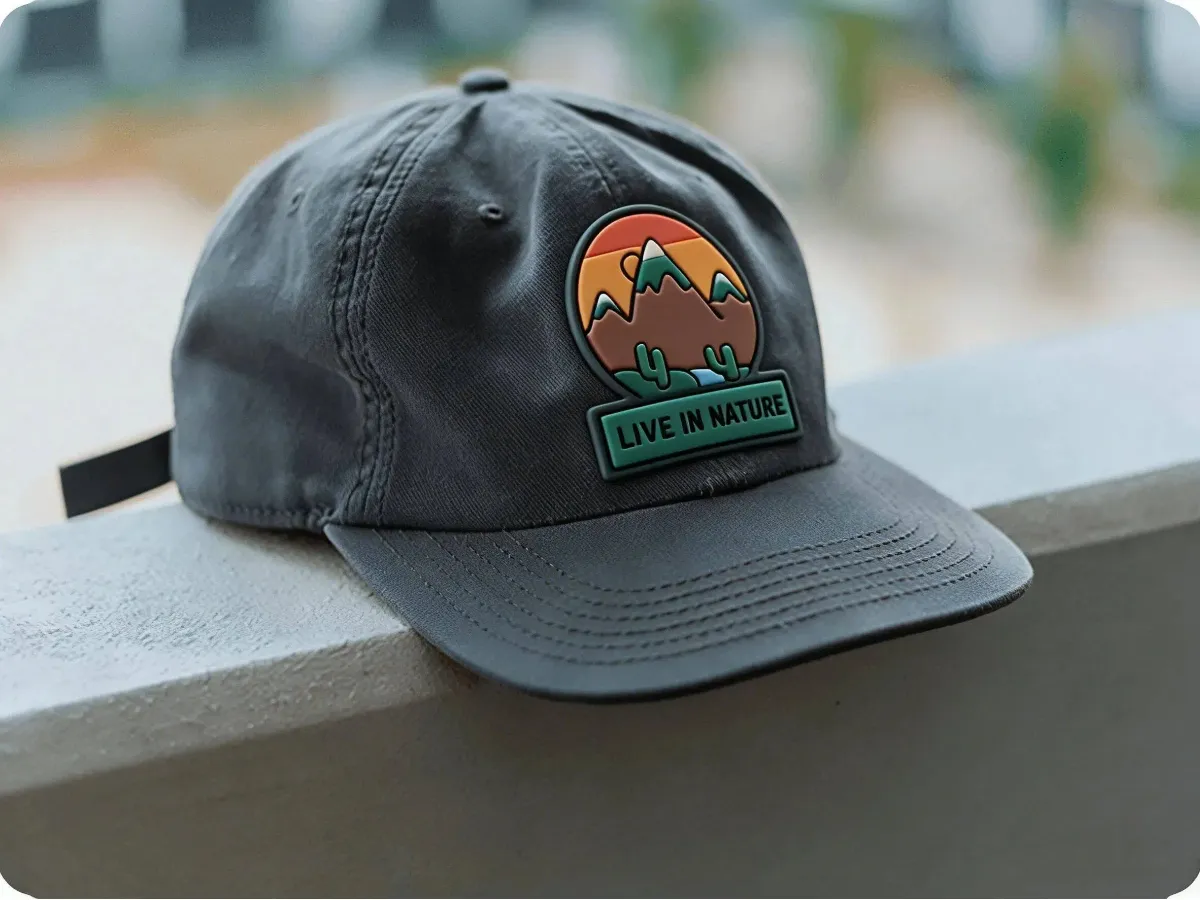
1. Embroidered Patches
The USA classic, in an exaggerated way, is three-dimensional and textured
Best for: Baseball caps, trucker hats, street hats
Pros: Very long-lasting and scratch-resistant, highly noticeable
Cons: Not very fine for tiny patterns
2. Woven Patches
Finely detailed patterns and delicate lines more
Best for: Patterns that need to be detailed very much (e.g., logos with a lot of text)
Pros: Great in conveying intricate details
Cons: Not as three-dimensional as embroidery
3. PVC Patches
Unique, three-dimensional layers with a techy and sporty touch.
Recommended for: Brands with outdoor products, tactical headgear, and sports equipment.
Profits: They are not only long-lasting but also water-resistant and color-changing.
Losses: Patches made of cloth might be the better option for soft hats.
4. Leather Patches
The most frequent option in luxury, vintage, and outdoor styles.
Recommended for: Outdoor hats, leisure hats, job hats.
Profits: Long-lasting and has a pleasant feel.
Disadvantages: Not suitable for complex colors and patterns (mostly for laser engraving).
5. Chenille Patches
The material is associated with winter and preppy styles.
Suitable for: Baseball caps, streetwear hats.
Advantages: Thick, cute, soft.
Disadvantages: Not good for very small patches.
6. Printed Patches
Perfect fidelity, able to print photo-realistic images.
Suitable for: Patterns with rich colors and gradient effects.
Advantages: Low price, realistic effect.
Disadvantages: Embroidery lasts longer than this specific product.
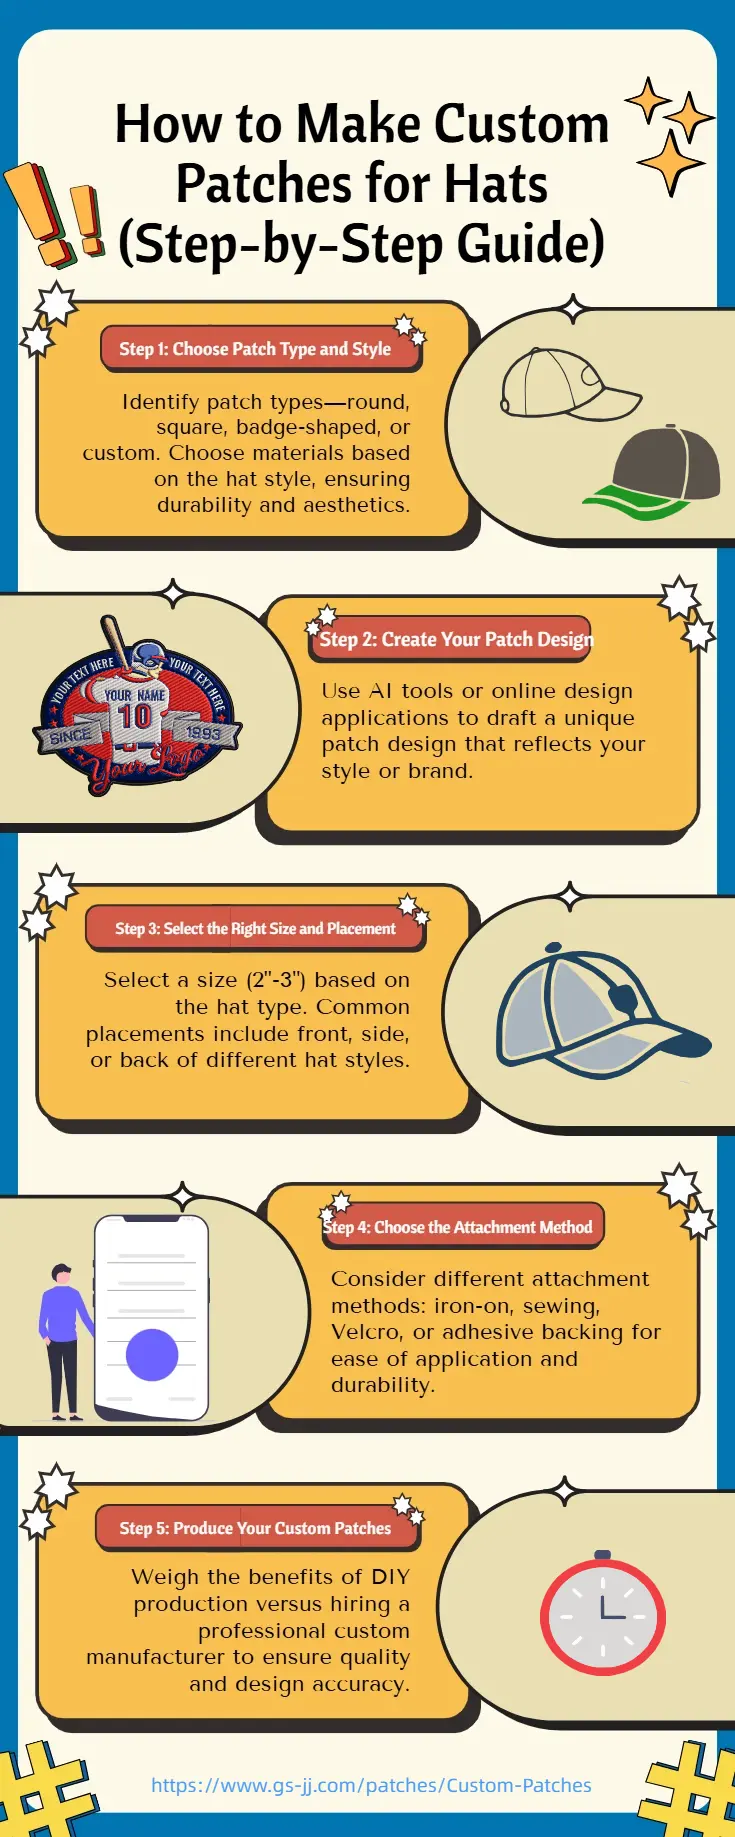
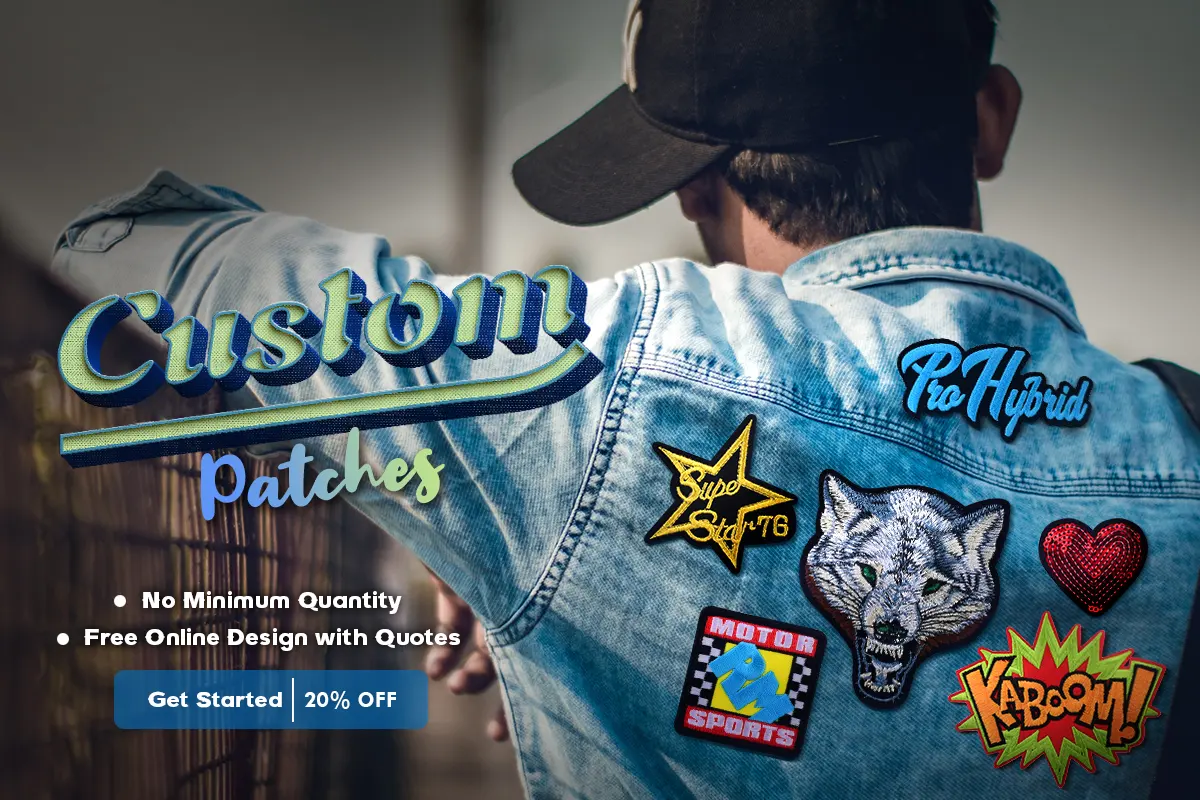
III. How to Make Custom Patches for Hats (Step-by-Step Guide)
We will be giving a very thorough step-by-step guide in the next part on how to create your first hat patch from scratch.
Step 1: Picking Patch Type and Style
While selecting the patch material, contemplate the three points mentioned below:
✔ Style of the hat
✔ The difficulty of the pattern
✔ Scenario of usage ( outdoors, daily, trendy )
Frequent patch forms are:
Round (for logos and mascots mostly)
Square (Utmost simple and clear)
Tag shape (sports teams, school, or club areas)
Some other unpredictable forms (features of DIY brands)
Step 2: Creating Patch Designs
Design is the key point that determines the whole process. Pay attention to the following:
Design factors:
Make sure the lines are of a considerable thickness to be seen in embroidery or fabric weaving.
Have a limited palette of colors (for embroidery, the maximum is 9 colors).
Make the borders of the patch (like American-style binding for better impact).
Design tools:
AI: Midjourney, DALL·E (Write down and get fast and easy visual inspirations)
Canva / Figma: Perfect for adapting patterns and layouts
Illustrator: It's a tool that is commonly used by professional designers
If you lack the skills in the field of design, you can also request the manufacturer to do it for you free of charge (for instance, GS-JJ offers free design services).
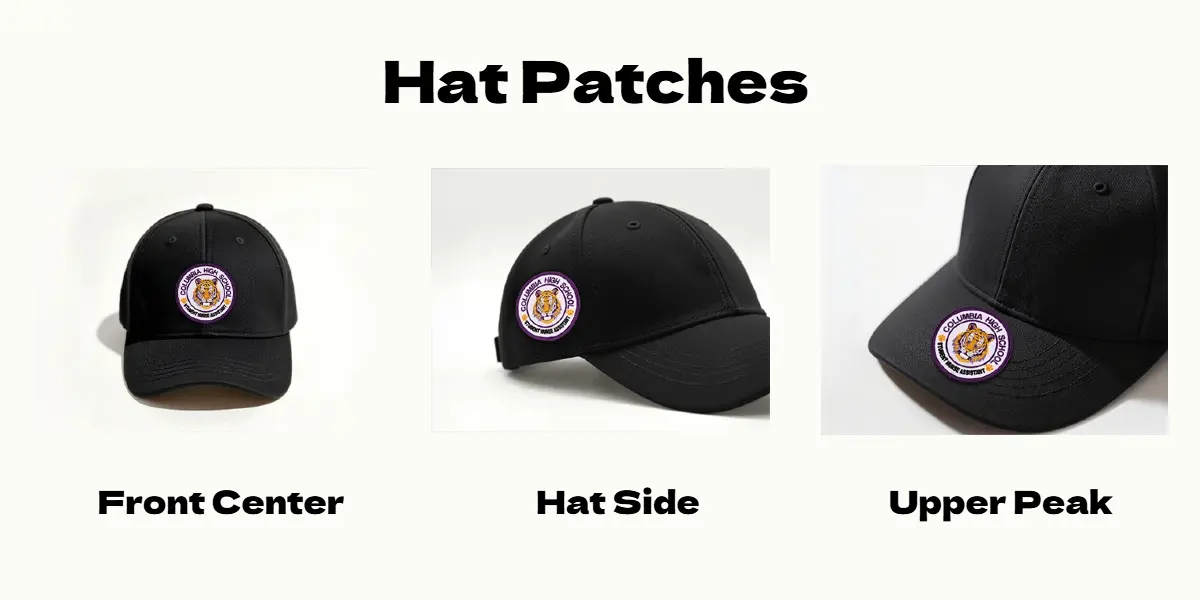
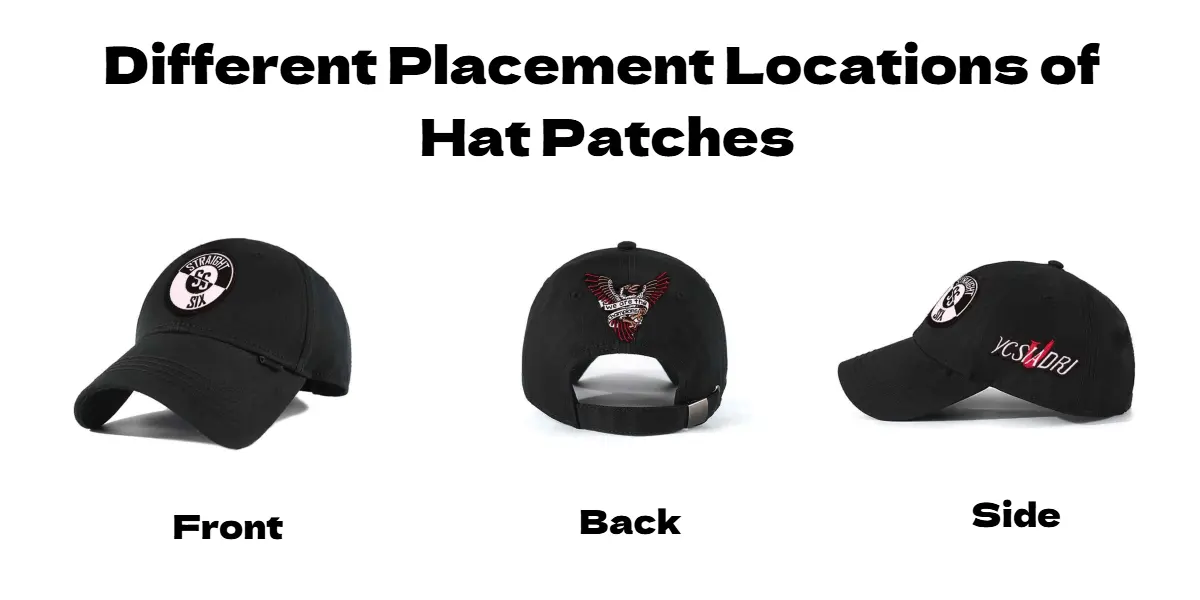
Step 3: Decide on Patch Size and Placement
Usual Size Reference:
2"–3", measured in inches, is the perfect fit for hats in general.
The size of round badges is mostly 2.5."
Leather patches are usually bigger (2.75–3.5").
| Hat Type | Recommended Size | Common Placement |
| Baseball Cap | 2.5–3" | Center |
| Truck Hat | 3–3.5" | Large area of the front |
| Fisher Hat | 1.5–2" | Side placement |
| Outdoor Hat | 2–2.5" | Front or side |
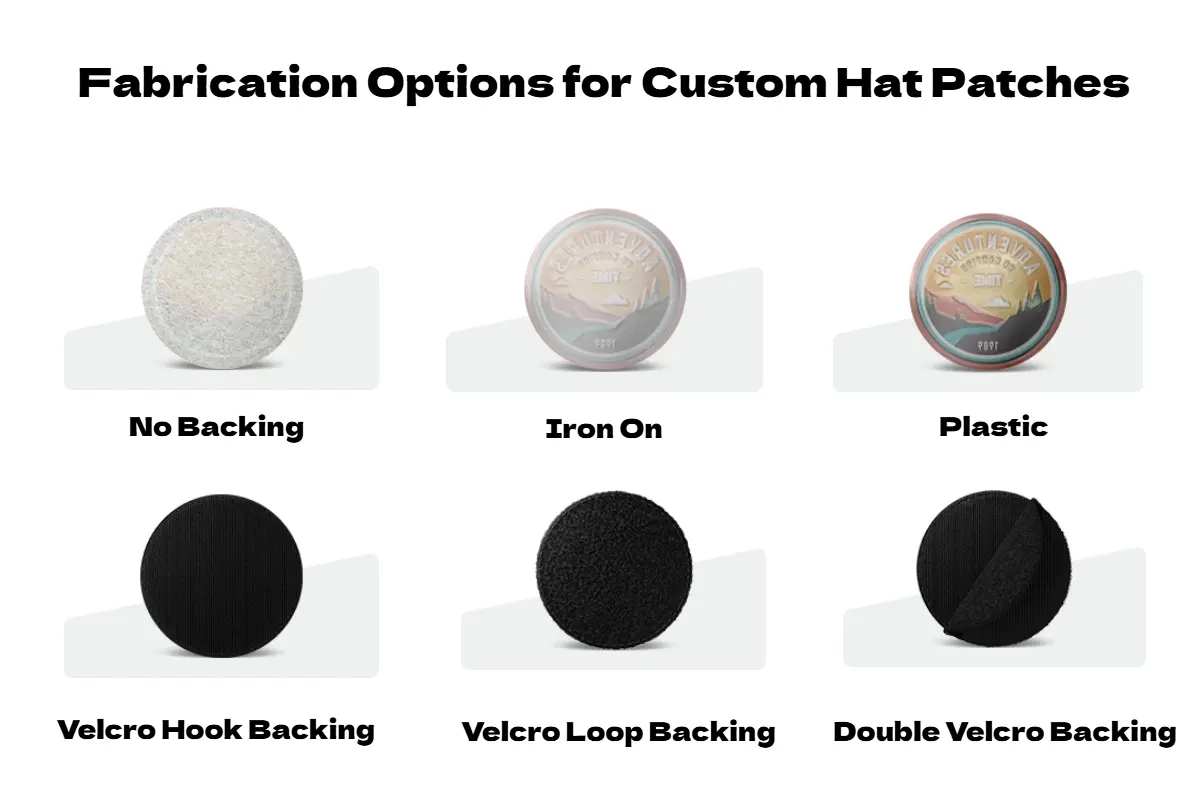
Step 4: Choose the Attachment Method
Each method has its own applicable scenarios:
1. Iron-on
Ideal for cotton and polyester hats
Simple to perform
2. Sewing
Most robust procedure
Recommended for caps and hats used outdoors and for sports activities
3. Velcro
Common for military and outdoor headgear
Can be interchanged with another patch
4. Adhesive
Used for short-term decoration, not ideal for a long-lasting application
Step 5: Produce Your Custom Patches
DIY is suitable for: Personalized, small-quantity orders.
Disadvantages: High cost, difficulty in achieving professional quality.
Factory customization is suitable for: Enterprises, teams, brands.
Advantages:
● Stable quality
● Complete processing techniques
● Lower cost (for bulk orders)
● Professional design services
IV. How to Sew Patches on Hats?
1. Embroidered hat
Workflow:
Firstly, the patch gets mounted onto the cap.
Then the edge of the patch is sewn through with a round needle.
Lastly, one knot is tied at the end to make sure the sealing is strong.
Tip: Threads of colors close to that of the fabric will make the stitches disappear nicely.
2. Pressing
Steps:
The iron is set to a medium-high temperature.
A cloth is laid over the patch.
A 20-30 second press is given.
The pressure is reapplied when the temperature is dropped for even stronger bonding.
Warning: High-temperature ironing is not for nylon or leather hats.
3. Velcro
Change is the easiest and quickest method.
The rough part of the Velcro patch needs to be sewn to the cap's front peak and then the soft part of the Velcro patch on the back.
V. Cost Factors of Making Custom Hat Patches
 There are various factors that could influence pricing.
1. Quantity (MOQ): The More quantity, equals lower the prices.
2. Material: Embroidery, PVC, and leather are priced differently.
3. Size: The price increases with size.
4. Skill: 3D embroidery, laser engraving, and wand eave density are all skilled works.
5. Adhesive type: Velcro is the priciest.
6. Design intricacy.
Typically, the price of embroidered patches is between $0.5 and $3 per patch, which is largely determined by the craftsmanship and the number.
VI. Where is the Best Place to Custom Hat Patches?
If you want to make a unique hat or to have patches customized for a business, sports team, or club, so, it is very simple to make first-class custom patches just by selecting the right materials, creating the right design patterns, and defining the right sizes.
GS-JJ is a reliable choice if your goal is to get the best patches or wholesale customization. They provide different techniques such as embroidered patches, PVC patches, leather patches, and fabric patches, and also provide:
● Free professional design
● Free templates
● Lowest quantity at a low price
● Quick manufacturing and global delivery
Great for building a strong relationship with retailers, teams, brands, and online stores in the long run.
VII. FAQ
1. Do hat patches last long?
Leather and PVC are the most durable among different types, and embroidered patches can last longer if used, depending on the occasion.
2. Are hat patches washable?
The majority are machine washable, but for ironed patches, it is better to use lower temperatures and less agitation.
3. What are the prices for custom hat patches?
The cost is determined by material, size, and quantity. Bulk orders come in at a lower price point.
4. Where is the best place to get custom hat patches?
You can get custom patches made via a professional personalization platform that allows various materials and methods.
What Size Should a Custom Patch Be?
The proper size of a patch will vary with some variables, like where the patch is going, how complicated the design is, and the requirement for it to be visible at all.
In other words, a 2-inch patch may be perfect for the front of a hat, but a patch that is 10 inches is not a proper size to place on the brim of a hat unless it is on the back of a jacket. If you stay aware of a handful of guidelines, you should be able to find a size that works for the purpose you're intending and then the level of impact that you will want.
How to Design a Patch?
Patches are not only decorative accessories; they are potent symbols of identity, belonging, and creativity. Patches (whether incorporated by military units, sports teams, businesses, or people) can tell a story, represent beliefs, or express trends of style.
Patch design involves weighing creativity against function to ensure the final product is simultaneously attractive and functional. Patches are highly customizable and are more than just a few clever colors, shapes, and materials. To set you on a better footing before getting into the nuts and bolts of colors, shapes, and materials, it is important to know a few aspects of patch design and also the essential elements that will impact the outcome of your patch design.
How to Remove Iron-On Patches?
Iron-on patches are wonderful to customize or adorn your apparel with, but when the patch has expired or is broken, or you wish not to have the patch set in your garment, you must have it removed. Iron-on patches need utmost caution for removal, or they will spoil the garment, or the custom patches will adhere to the garment.
In this tutorial, we will discuss what to check before iron-on patch removal, removal of the iron-on patch, how to deal with residue glue, and preparation of the garment for removal.
